

DISCLAMER: Please!!!!! If you do not know how to safely jack up the van and remove the wheels, DO NOT ATTEMPT THIS DIY. I am not responsible for any injuries resulting from your stupidity. Please be at least 8/10 on your technical skill level in order to attempt this.
DIY performed on a 2005 XLE LTD WITH 17” RIMS ONLY
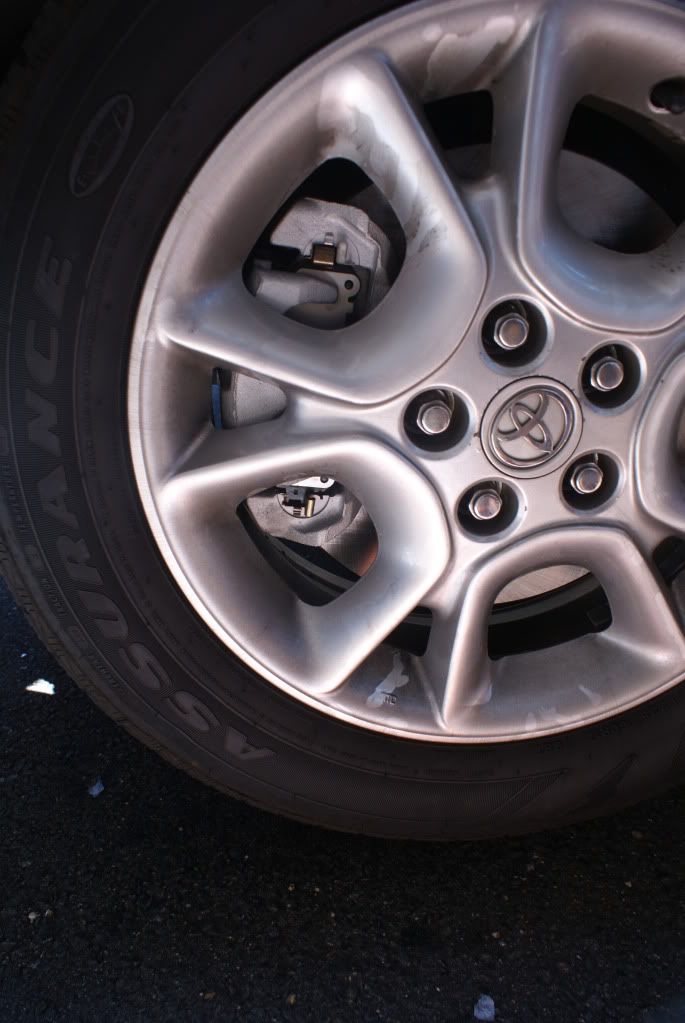
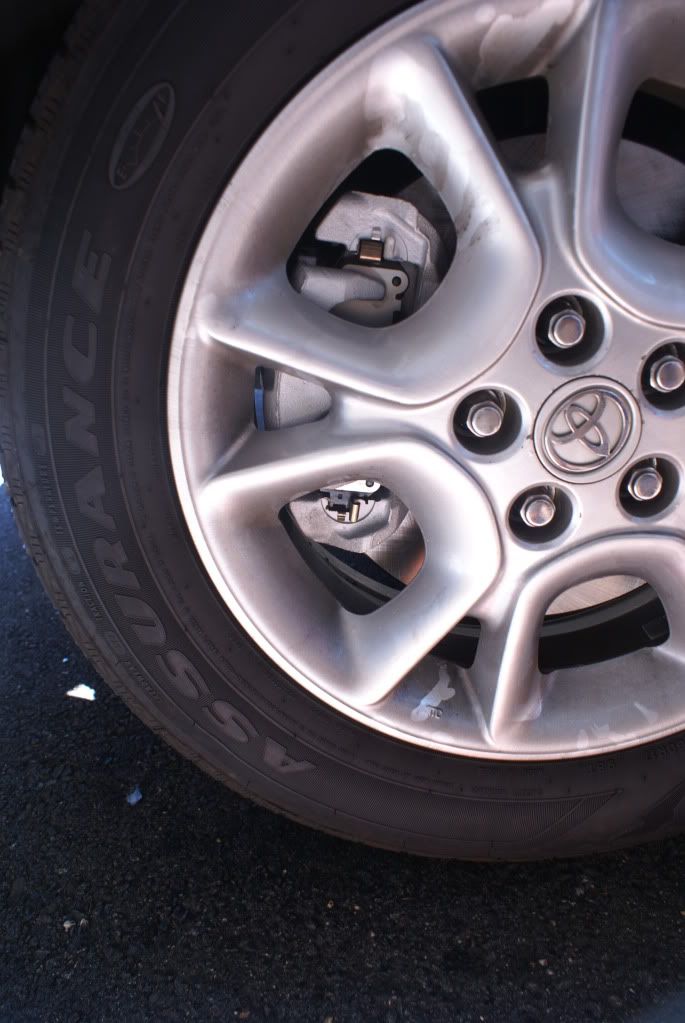
CLERANCE MEASUREMENTS:
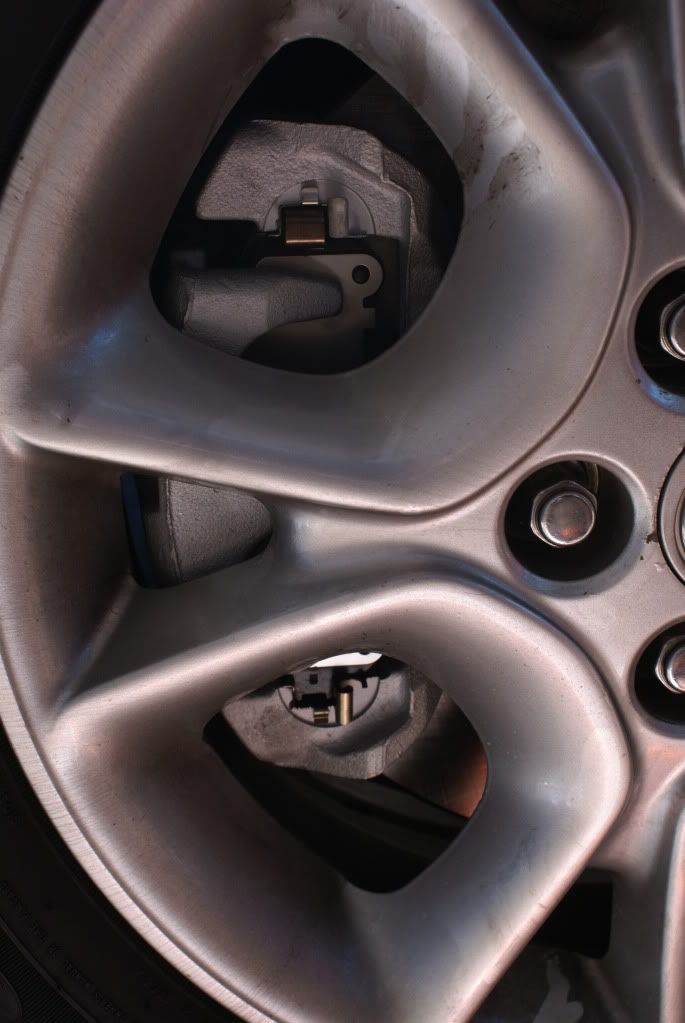
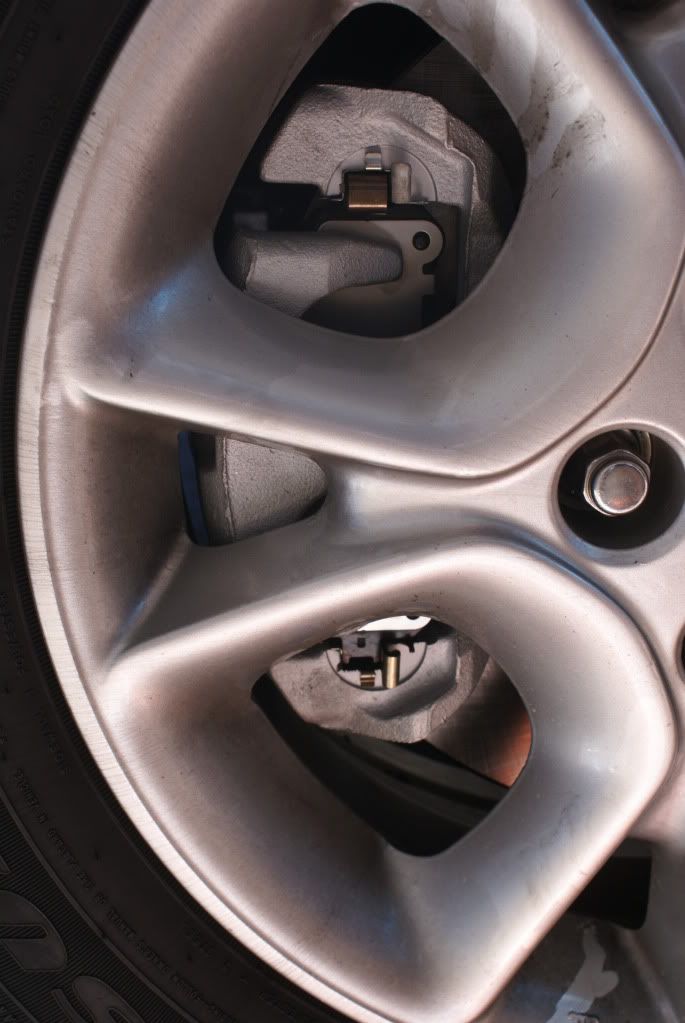
BEFORE THE SWAP CLERANCE BETWEEN THE RIM AND CALIPER 7MM
AFTER THE SWAP CLERANCE BETWEEN THE RIM AND CALIPER 5MM
TOTAL CLERANCE LOSS 2MM
ENOUGH CLERANCE FOR SAFE OPERATION.
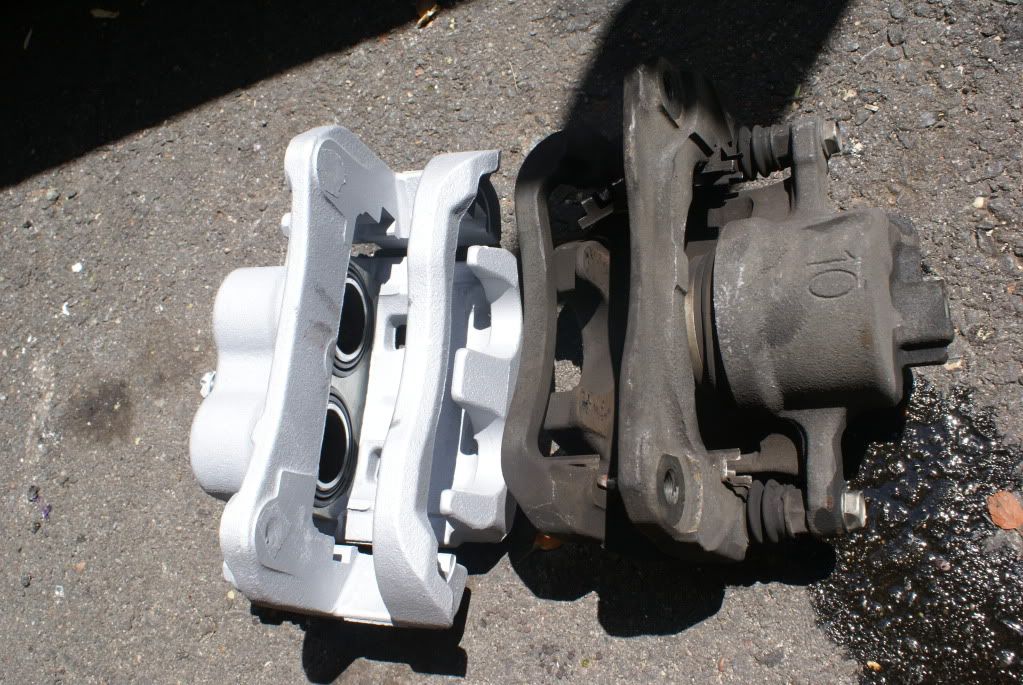
What You Need:1) 2011 Front brake calipers complete set including the brackets
2) 2011 NEW Front Brake rotors
3) 2011 NEW Front Brake pads
4) BRAKE FLUID 2 PINTS
I used the web site www.car-parts.com, this is a complete US based junk yard/auto recycler’s data base and you will definitely find what you are looking for on here. I got lucky and picked up a virtually brand new front caliper set loaded with brake pads that looked like they came off a vehicle which must have had 2/3 k miles on it.
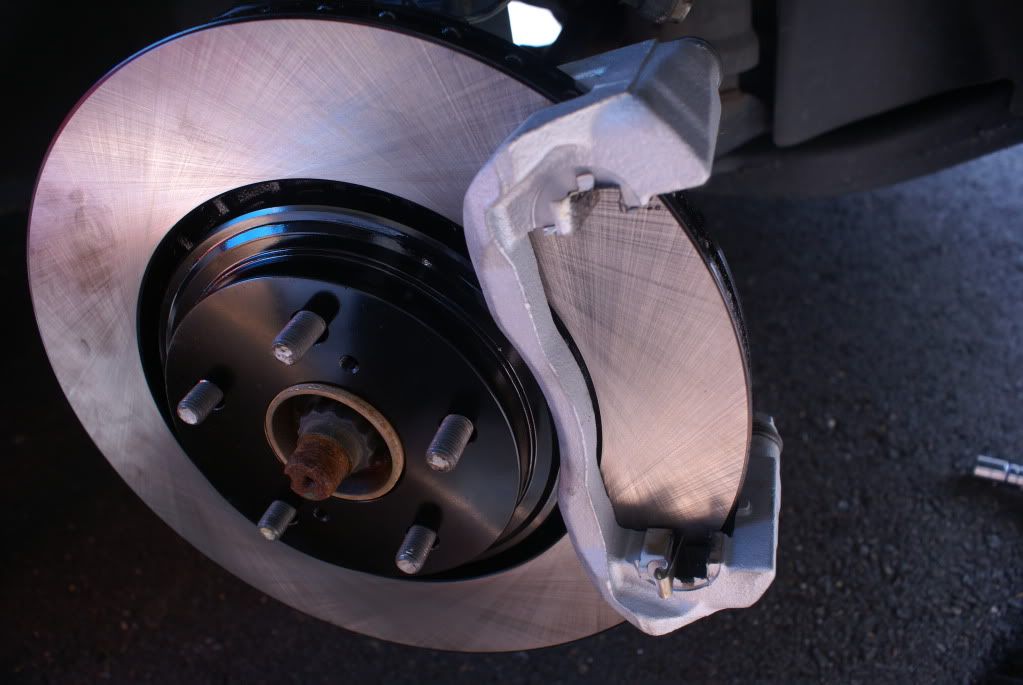
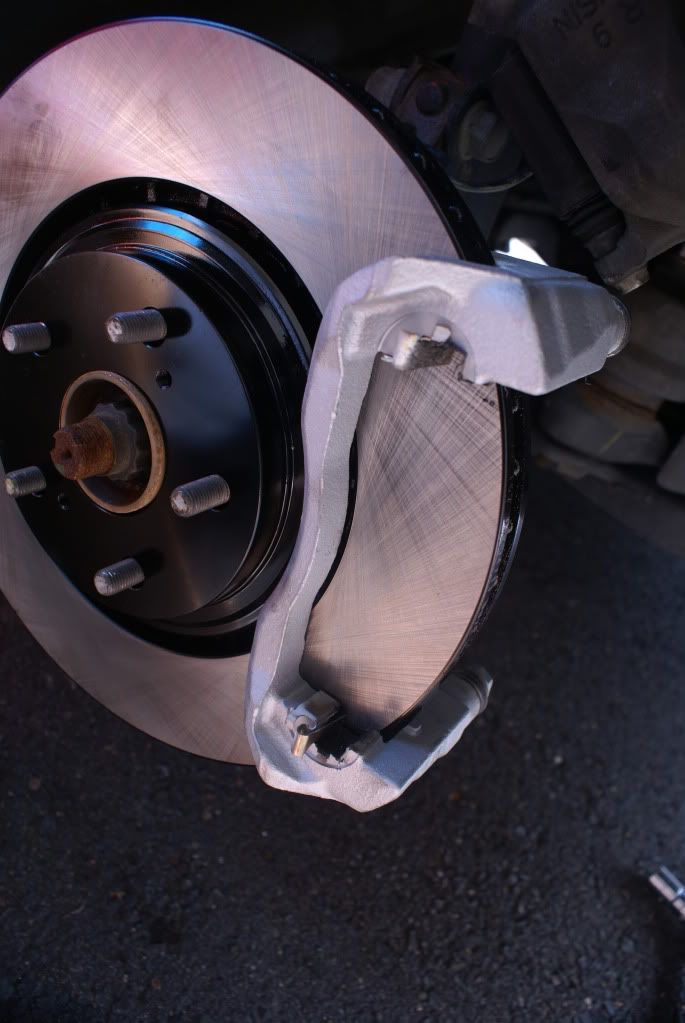
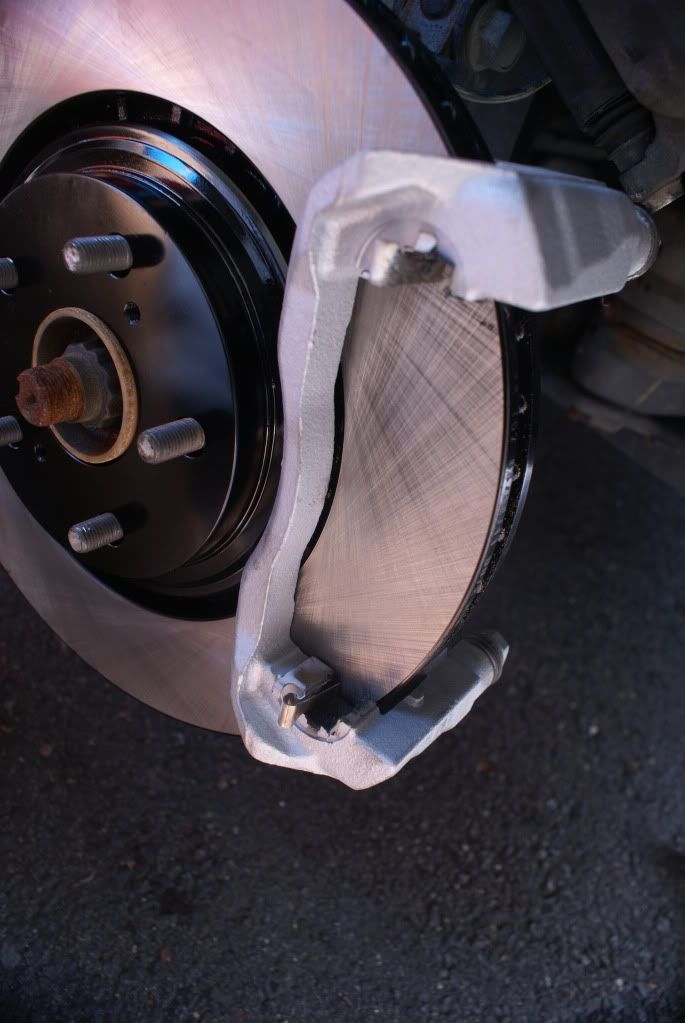
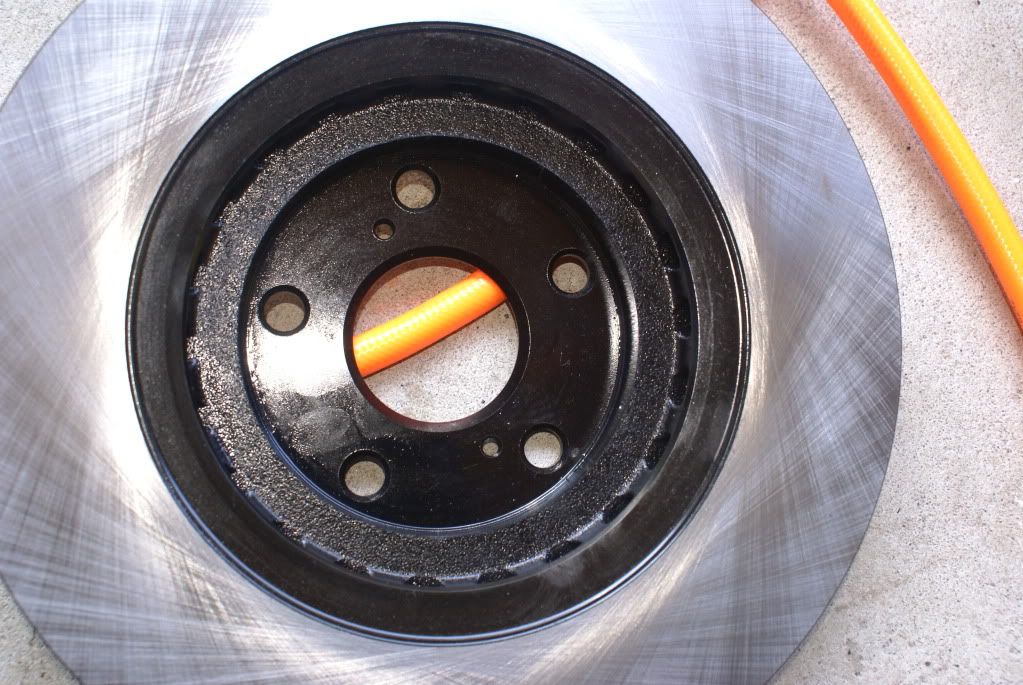
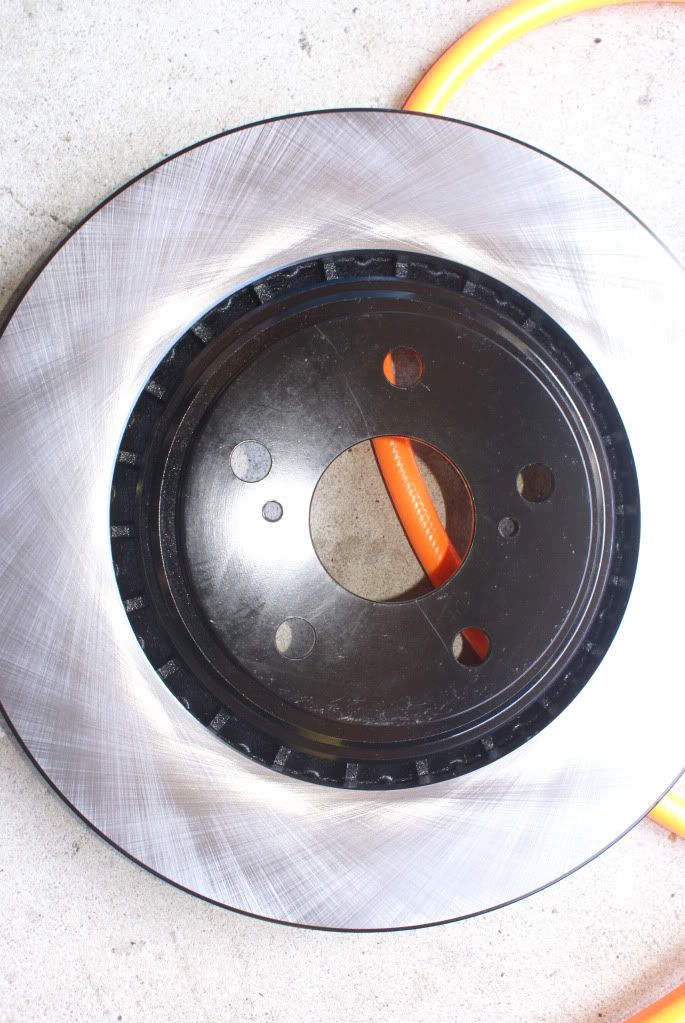
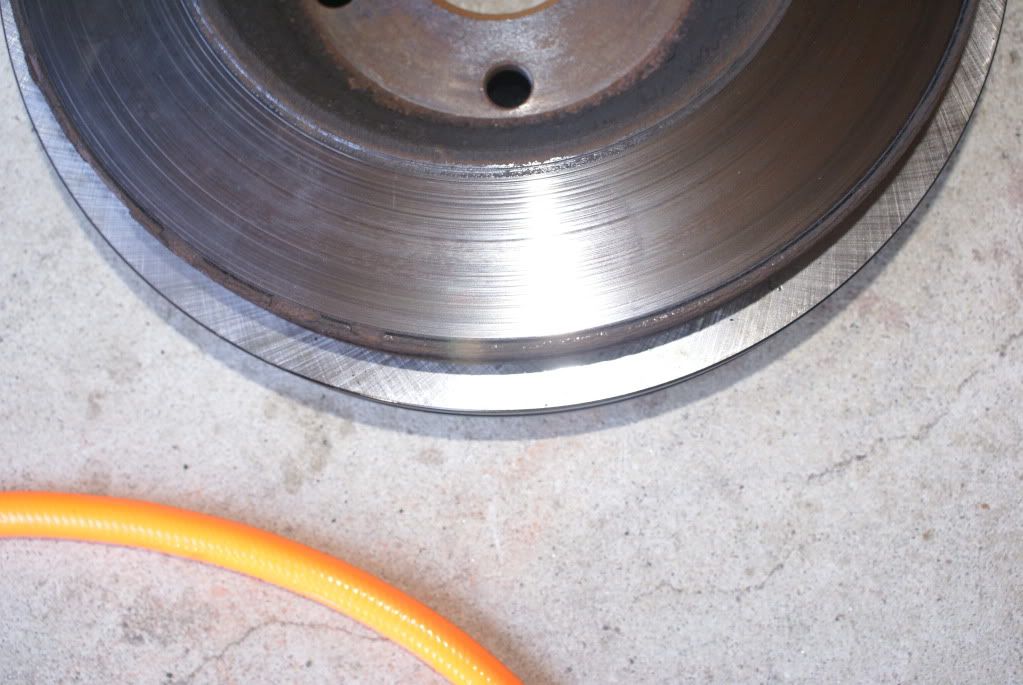
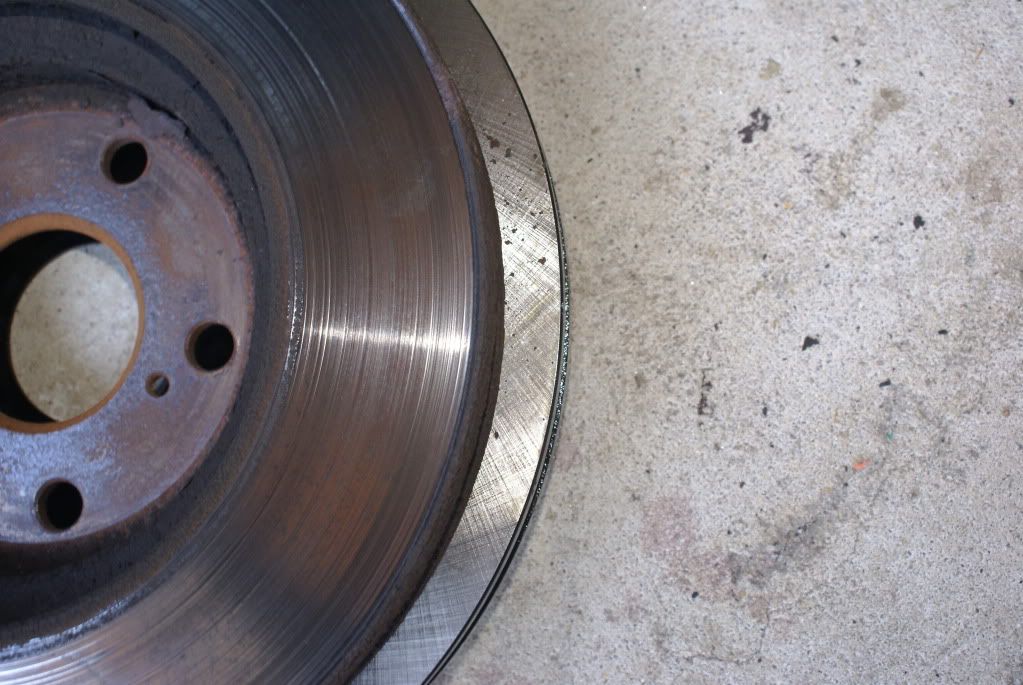
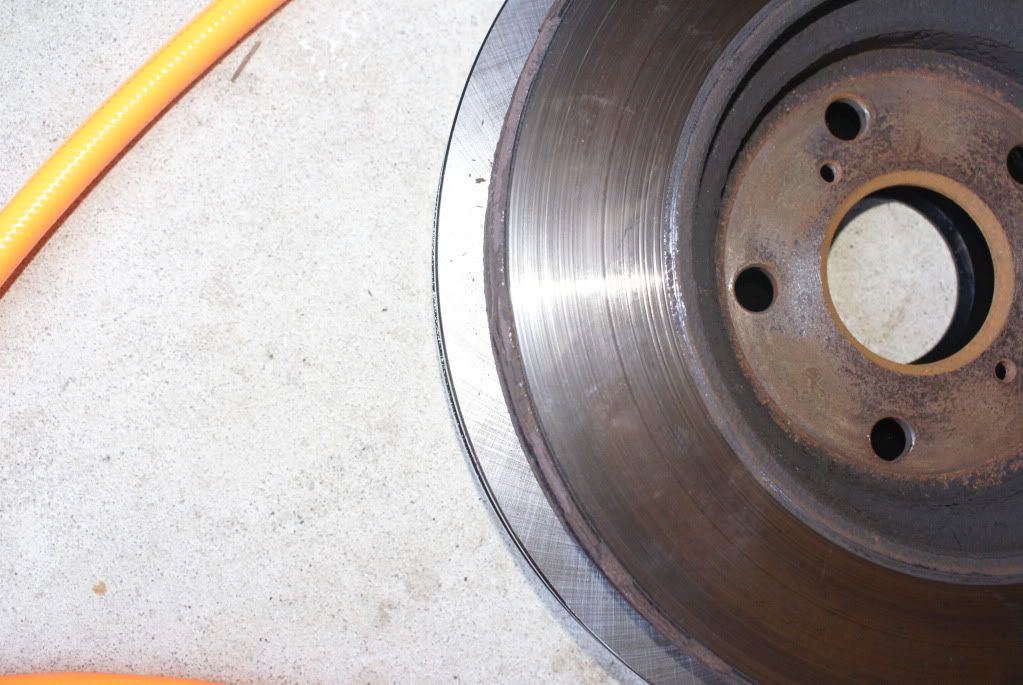
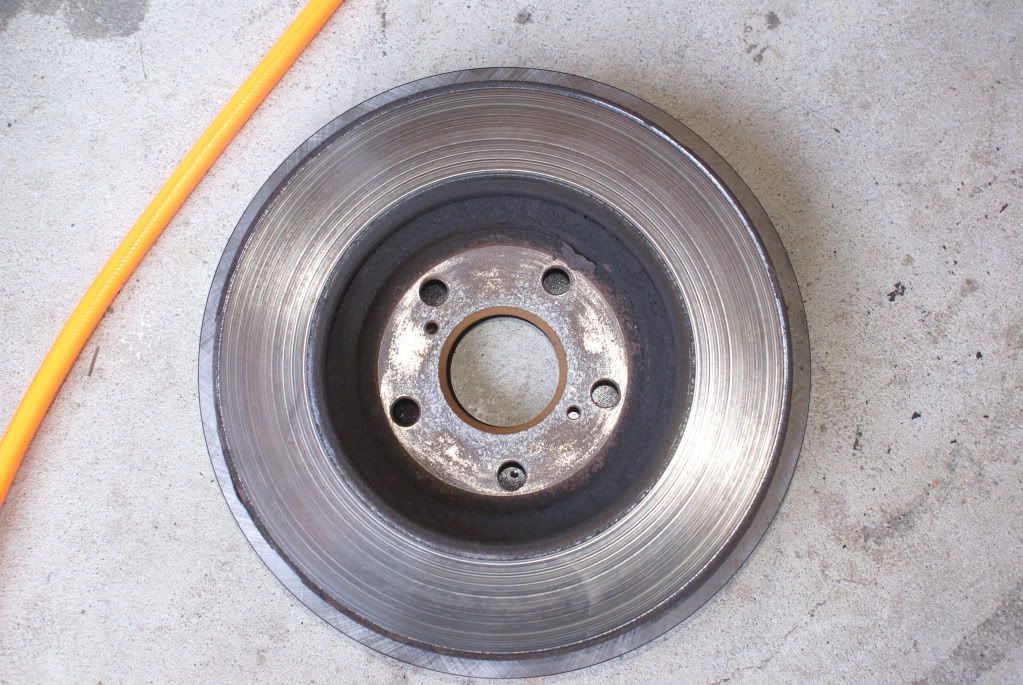
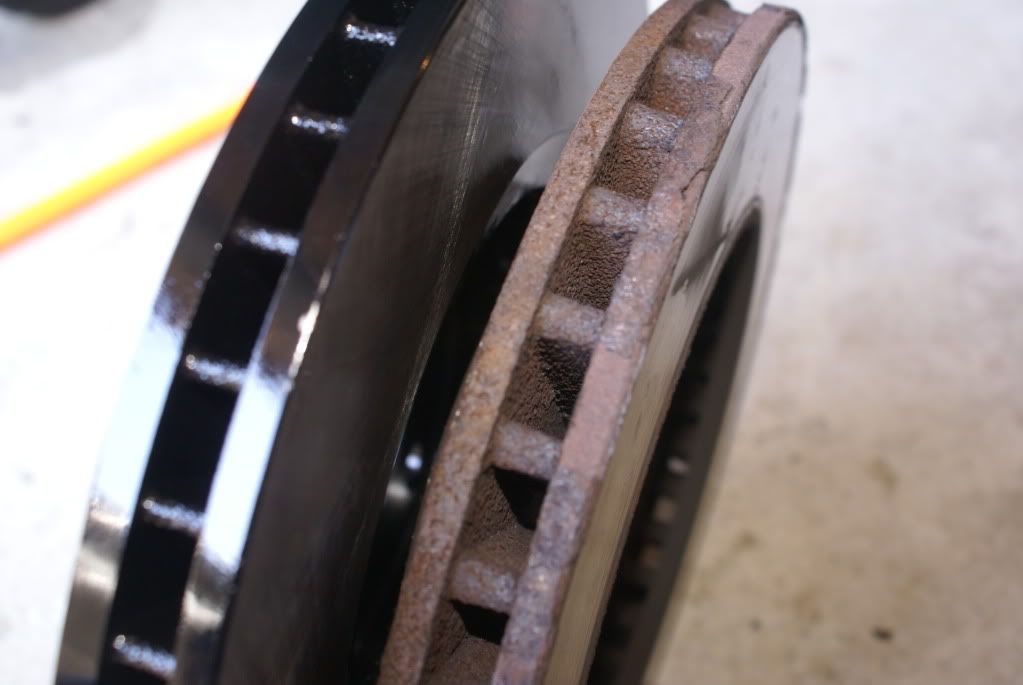
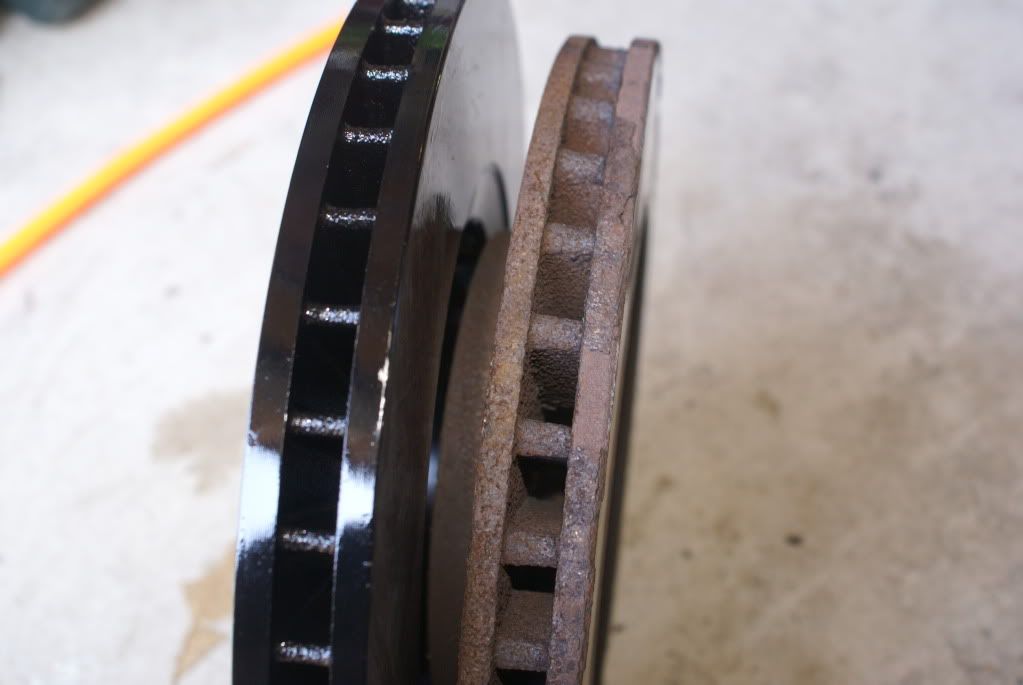
For new rotors and pads I used this web site link attached below, best web site for brake parts. I decided to go with the painted rotors as you will see in the pictures the reason why. All the rust formation due to constant heating and cooling plus the salt and snow just fastens the flaking/rusting process.
http://brakeperformance.com/index.php
Follow the DIY that I had posted some time back and remove the caliper and pop out the rotor. Here is a link http://www.siennachat.com/forum/index.php?topic=1218.0, follow these steps till the point where you have the caliper hanging by the springs and the bracket and rotors are all taken off.
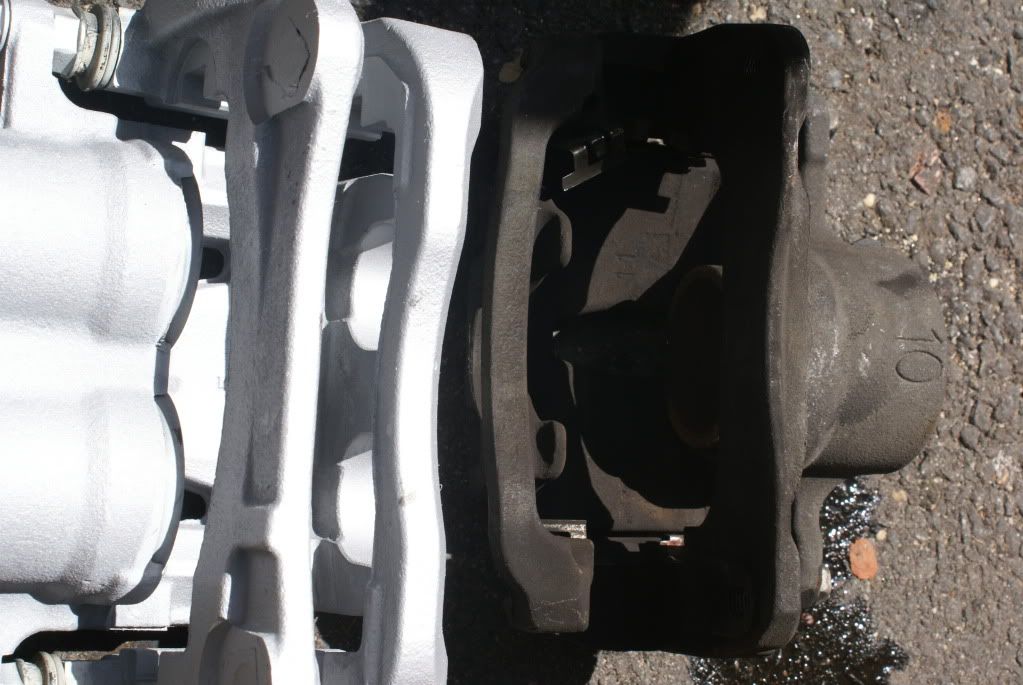
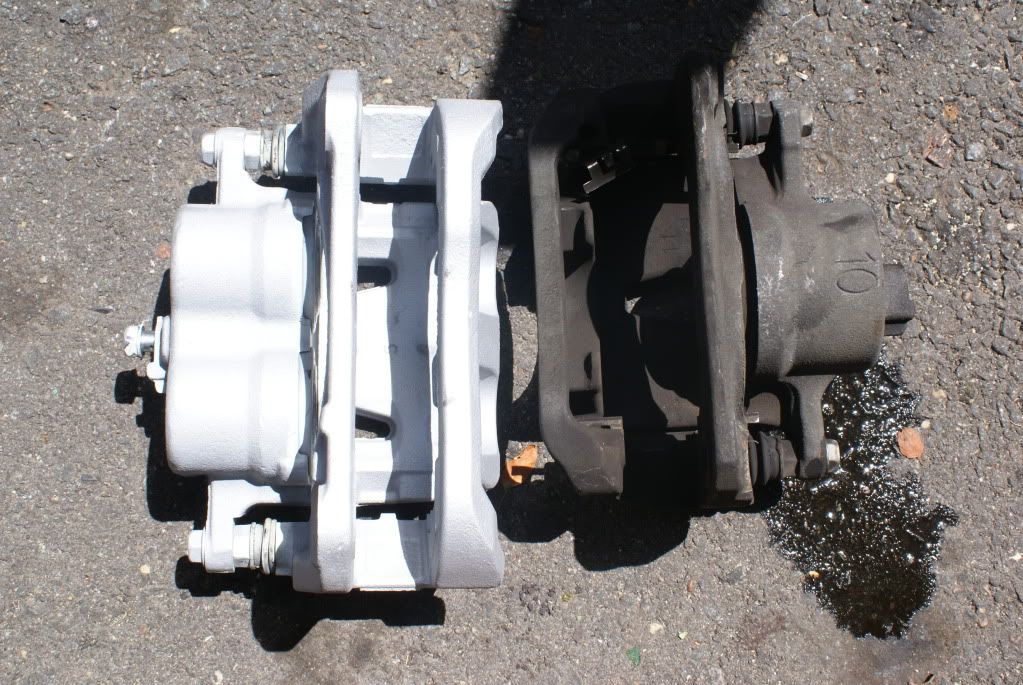
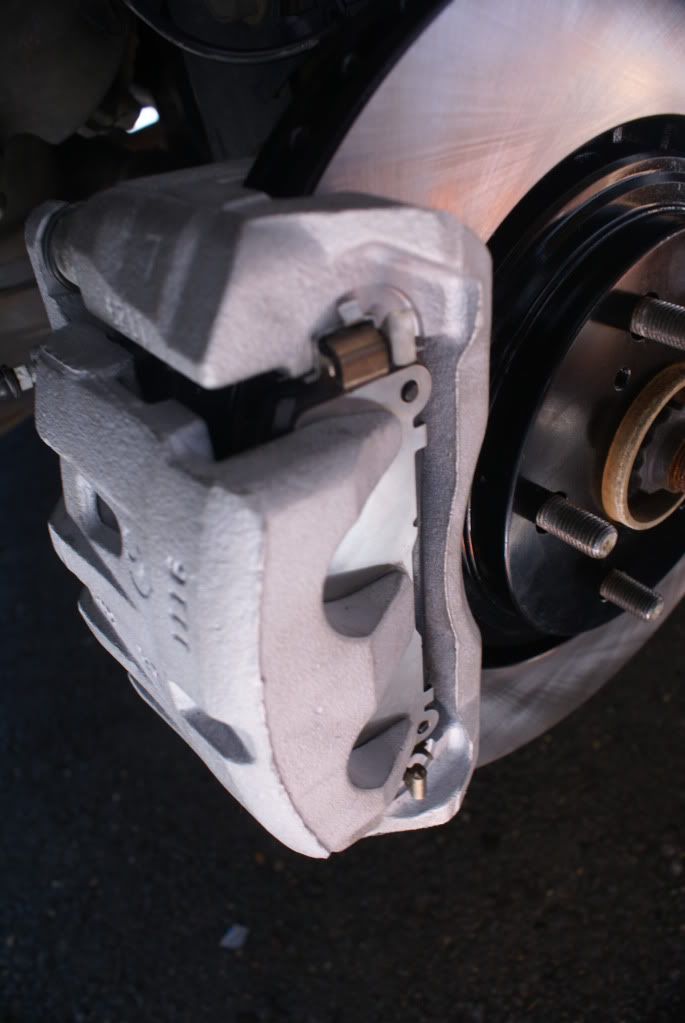
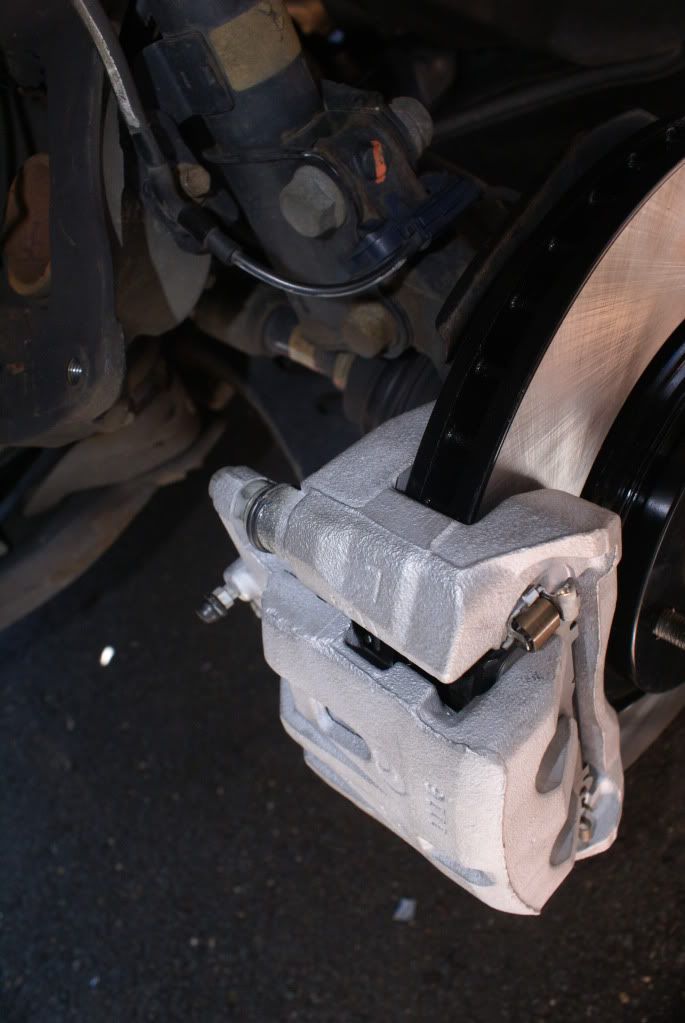
This is also a good time to paint the new calipers, make sure that you cover the rubber piston seal area with masking tape before you hit it with the paint, and also throw some clear coat on it as well. As it will help make the caliper look nicer and help in cleaning when hit by pressurized water.
After you are all set, and have followed the DIY link above, you are now ready to install the big rotor conversation.
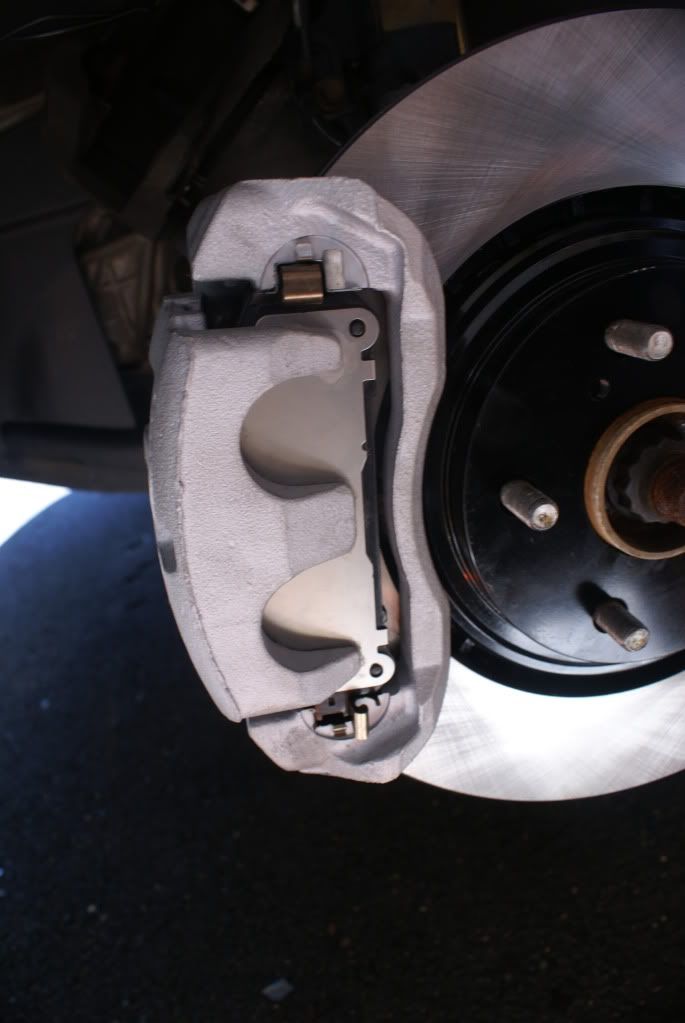
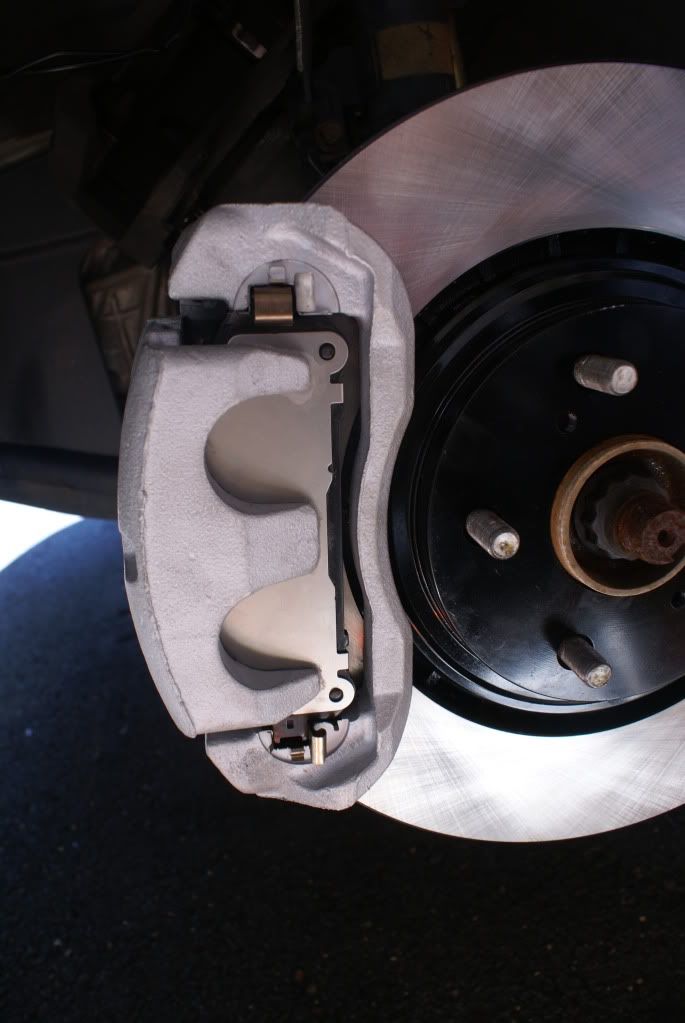
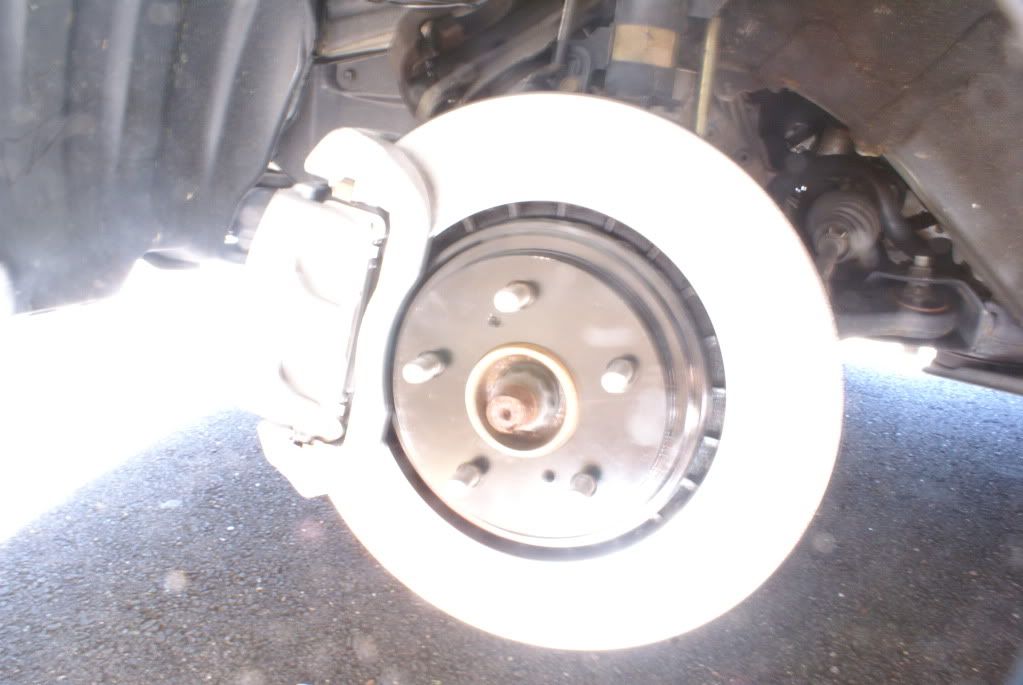
1) Pop in your new rotor
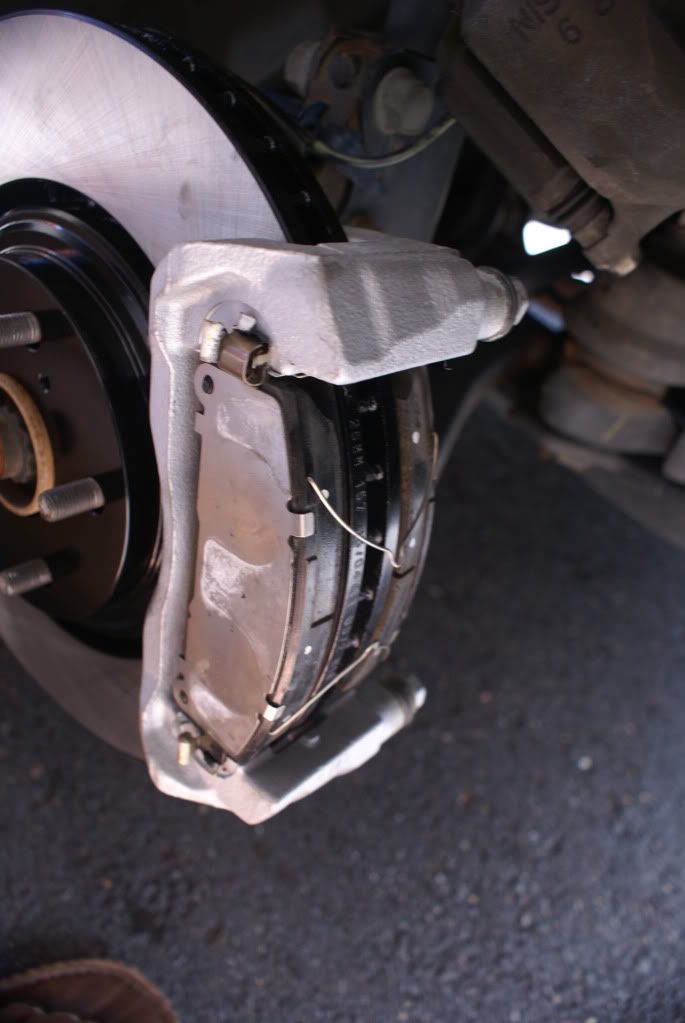
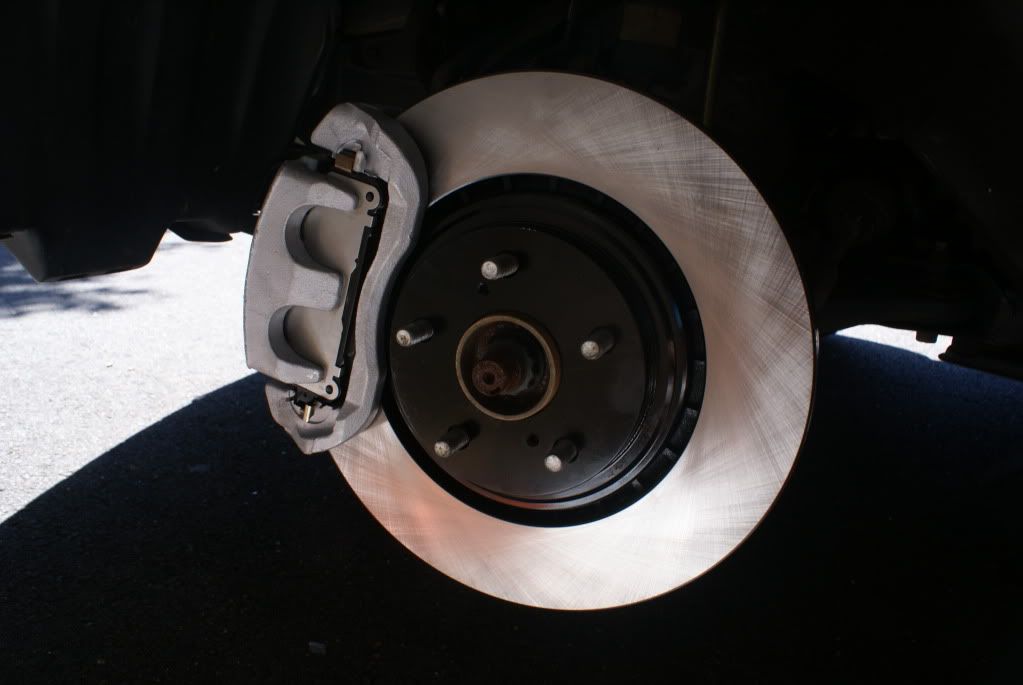
2) Install the complete caliper assembly with the bracket on to the hub, don’t worry it is all going to fit like a glove. (again follow the DIY from above to get this done properly)
3) Now you need to take the calipers off of the bracket to be able to install the pads (you could not have done this outside, as the brackets need to be mounted firm on something in order to be able to loosen the caliper slider pins bolts).
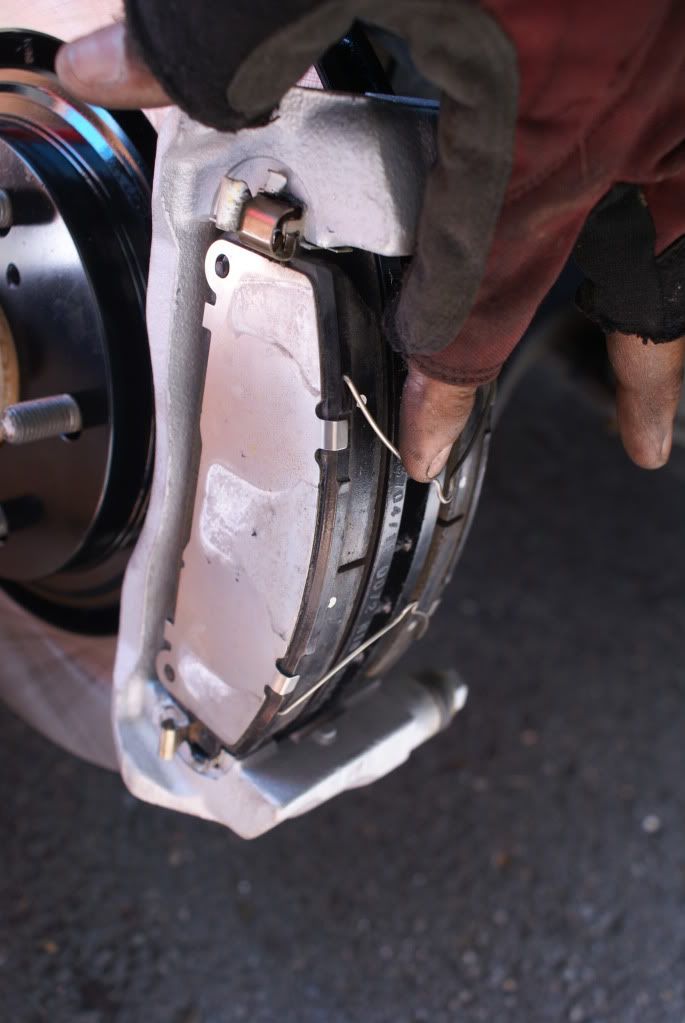
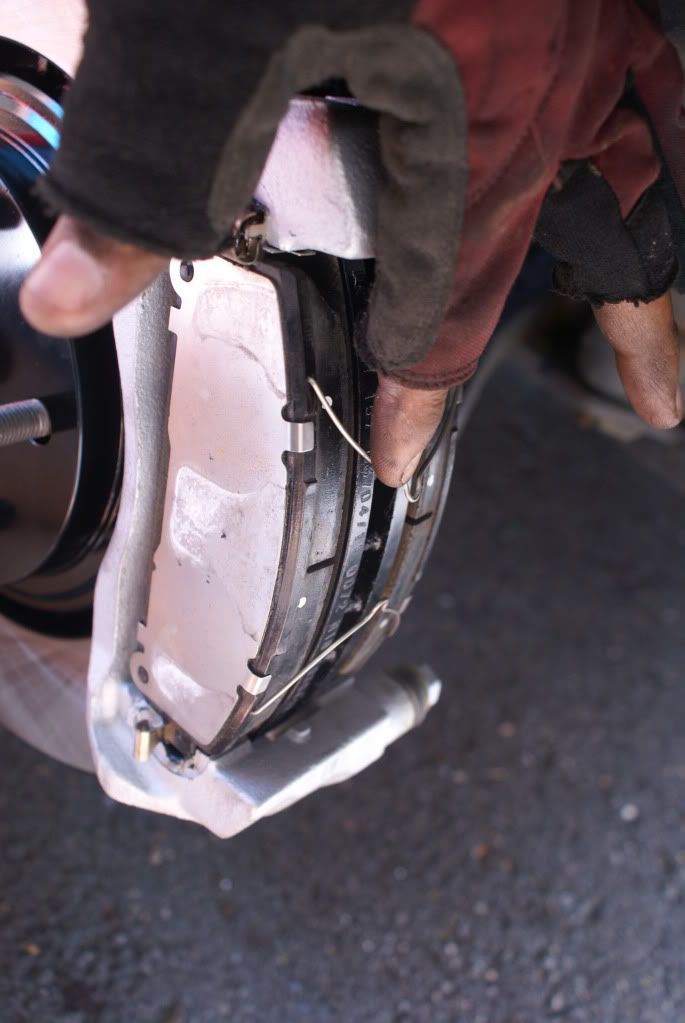
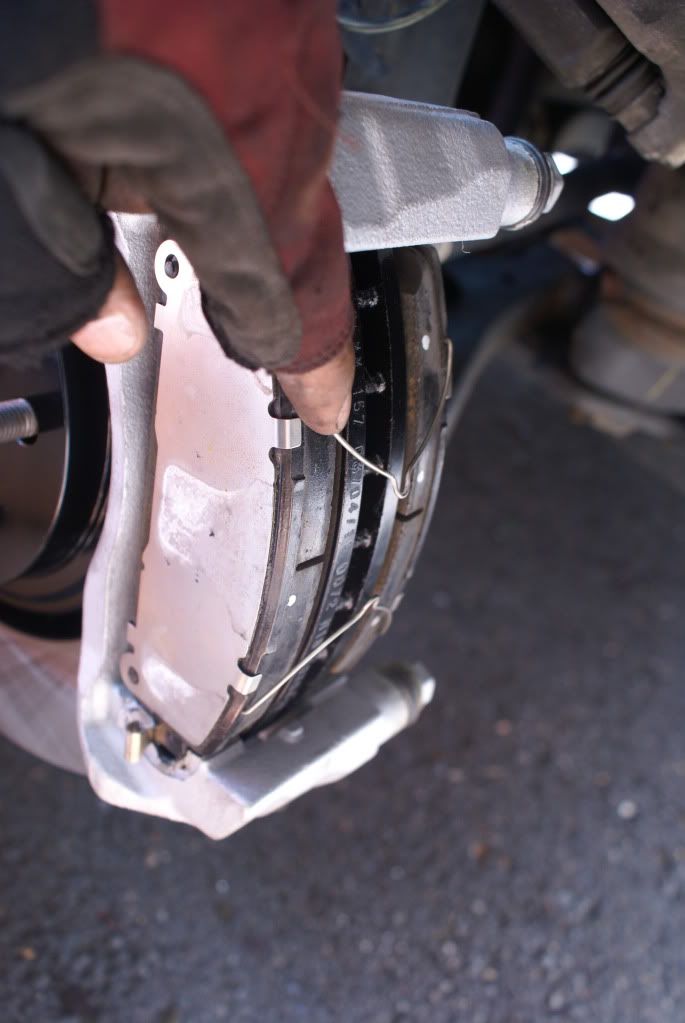
4) The difference between the 2004/2010 and the 2011 brake assemblies in the two metal retraction springs that need to be attached to the brake pads, this is not the case in the 2004-2010 year models. These springs’s aid the retraction process of the brake pads so it is a positive retraction and the pads will never get stuck in the engaged position and cause unnecessary wear and tear on your braking system. (One more reason why you need the calipers off the bracket in the above step 3).
5) Don’t forget to grease the slider pins.
6) Open the brake fluid reservoir cap and top off the reservoir all the way to the top making sure that it does not overflow (be careful as the brake fluid is highly corrosive and will remove the paint where it makes contact)
7) This next couple of steps you need to do quickly or find a brake line pinch tool so you don’t lose a lot of brake fluid. I hope that you all get the caliper set with the brake lines. If you do, unhook the brake line from the 2011 caliper
Next all steps needs to be performed quickly, don’t worry about tightening everything up just make the connection enough so that you don’t lose a lot of brake fluid. After you have finished one side check the fluid level in the reservoir making sure you are close to the MAX line marker.
8) Disconnect the Brake line of your old caliper from the chassis brake line and quickly connect the 2011 brake line to the chassis brake line make sure that the you tighten this up ( you are losing brake fluid but it is just dropping in drops so not to worry …….)
9) Quickly connect the other end to the 2011 caliper and screw in the bolt sung enough to stop the brake fluid flow.
10) CHECK THE FLUID LEVEL IN THE RESERVOIR, if low then add some. DO THIS EXCERSIZE AS OFTEN AS POSSIBLE BECAUSE THE LAST THING THAT YOU WANT IS SUCKING IN AIR INTO YOU BRAKE LINES.
11) Now tighten everything up, the connection to the chassis line and the bolt on the caliper (don’t forget the brass washers on the caliper end)
12) Loosen the bleed screw on the caliper and connect a transparent drain line to the bleed screw.
13) Ask a friend to start pumping the brakes from inside the cabin.
14) Look for clear flow of brake fluid in the drain line, when you see that the fluid coming out is free of air bubbles you may stop the bleed process and tighten the bleed screw. You may also refer a online DIY on how to bleed brake system. In a nut shell what your friend is doing is pump, pump, pump and when he feels enough pressure build up then hold and you release the bleed screw. You will see brake fluid squirt out the drain line that you juts connected. It will be filthy and dark in color. Keep repeating the process till you see nice clear clean fluid squirt out without any trapped air bubbles. (THIS PROCESS IS VERY IMPORTANT AND YOU NEED THE HELP OF A FRIEND TO MAKE SURE THAT YOU PRESSURIZE THE BRAKE SYSTEM PROPERLY……IT IS AN EASY PROCESS BUT YOU STILL NEED SOME COMMON SENSE…..YOU NEED TO FEEL THAT PRESSUER BUILD UP IN THE SYSTEM AS YOU PUMP)
15) Once you are satisfied that the system is clean and pressurized properly you may tighten the bleed screw and clean up all the brake fluid.
16) Finish the other side in the same manner.
17) TEST DRIVE: Now don’t be a smart ass and load up your family and show off you upgrade. Make sure that you are alone in the van and have a properly functioning e-brake. Drive off real slow and test the e-brake a couple of times and start testing/pumping your newly installed brake system. You will feel some free push in’s but once the system is pressurized properly it will hold and will work beautifully.
I HAVE BEEN ROCKING THIS UPGRADE FOR THE LAST 5000MILES AND AM GLAD TO TELL YOU THAT ALL WORKS WELL AND THIS 3 TON MONSTER STOPS ON A DIME, YOU WILL DEFINITELY AND POSITIVELY FEEL THE BRAKING DIFFERENCE AND REDUCED STOPPING DISTANCE.
DISCLAMER: AGAIN CANNOT EMPHASIZE THIS ENOUGH…………PLEASE DO THIS AT YOUR OWN RISK AND I AM NOT LIABLE FOR ANY MISTAKE THAT YOU MIGHT COMMIT OR ANY ACCIDENTS RELATED TO THIS WIRTEUP. PLEASE DO THIS AT YOUR OWN RISK.
DETAILED PICTURES ATTACHED: YOUR FEEDBACK/APPRECIATION IS WELCOME……CHEERS!!!!!!!
![Image]()
![Image]()
![Image]()
![Image]()
![Image]()
![Image]()
![Image]()
![Image]()
![Image]()
![Image]()
![Image]()
![Image]()
![Image]()
![Image]()
![Image]()
![Image]()
![Image]()
![Image]()
![Image]()
![Image]()
![Image]()
![Image]()
![Image]()
![Image]()
![Image]()
![Image]()
![Image]()
![Image]()
![Image]()
![Image]()
![Image]()
![Image]()
![Image]()
![Image]()
![Image]()
TOTAL COST OF THIS MOD: CALIPERS $80 + ROTORS $120 = TOTAL of $200............
DIY performed on a 2005 XLE LTD WITH 17” RIMS ONLY
CLERANCE MEASUREMENTS:
BEFORE THE SWAP CLERANCE BETWEEN THE RIM AND CALIPER 7MM
AFTER THE SWAP CLERANCE BETWEEN THE RIM AND CALIPER 5MM
TOTAL CLERANCE LOSS 2MM
ENOUGH CLERANCE FOR SAFE OPERATION.
What You Need:1) 2011 Front brake calipers complete set including the brackets
2) 2011 NEW Front Brake rotors
3) 2011 NEW Front Brake pads
4) BRAKE FLUID 2 PINTS
I used the web site www.car-parts.com, this is a complete US based junk yard/auto recycler’s data base and you will definitely find what you are looking for on here. I got lucky and picked up a virtually brand new front caliper set loaded with brake pads that looked like they came off a vehicle which must have had 2/3 k miles on it.
For new rotors and pads I used this web site link attached below, best web site for brake parts. I decided to go with the painted rotors as you will see in the pictures the reason why. All the rust formation due to constant heating and cooling plus the salt and snow just fastens the flaking/rusting process.
http://brakeperformance.com/index.php
Follow the DIY that I had posted some time back and remove the caliper and pop out the rotor. Here is a link http://www.siennachat.com/forum/index.php?topic=1218.0, follow these steps till the point where you have the caliper hanging by the springs and the bracket and rotors are all taken off.
This is also a good time to paint the new calipers, make sure that you cover the rubber piston seal area with masking tape before you hit it with the paint, and also throw some clear coat on it as well. As it will help make the caliper look nicer and help in cleaning when hit by pressurized water.
After you are all set, and have followed the DIY link above, you are now ready to install the big rotor conversation.
1) Pop in your new rotor
2) Install the complete caliper assembly with the bracket on to the hub, don’t worry it is all going to fit like a glove. (again follow the DIY from above to get this done properly)
3) Now you need to take the calipers off of the bracket to be able to install the pads (you could not have done this outside, as the brackets need to be mounted firm on something in order to be able to loosen the caliper slider pins bolts).
4) The difference between the 2004/2010 and the 2011 brake assemblies in the two metal retraction springs that need to be attached to the brake pads, this is not the case in the 2004-2010 year models. These springs’s aid the retraction process of the brake pads so it is a positive retraction and the pads will never get stuck in the engaged position and cause unnecessary wear and tear on your braking system. (One more reason why you need the calipers off the bracket in the above step 3).
5) Don’t forget to grease the slider pins.
6) Open the brake fluid reservoir cap and top off the reservoir all the way to the top making sure that it does not overflow (be careful as the brake fluid is highly corrosive and will remove the paint where it makes contact)
7) This next couple of steps you need to do quickly or find a brake line pinch tool so you don’t lose a lot of brake fluid. I hope that you all get the caliper set with the brake lines. If you do, unhook the brake line from the 2011 caliper
Next all steps needs to be performed quickly, don’t worry about tightening everything up just make the connection enough so that you don’t lose a lot of brake fluid. After you have finished one side check the fluid level in the reservoir making sure you are close to the MAX line marker.
8) Disconnect the Brake line of your old caliper from the chassis brake line and quickly connect the 2011 brake line to the chassis brake line make sure that the you tighten this up ( you are losing brake fluid but it is just dropping in drops so not to worry …….)
9) Quickly connect the other end to the 2011 caliper and screw in the bolt sung enough to stop the brake fluid flow.
10) CHECK THE FLUID LEVEL IN THE RESERVOIR, if low then add some. DO THIS EXCERSIZE AS OFTEN AS POSSIBLE BECAUSE THE LAST THING THAT YOU WANT IS SUCKING IN AIR INTO YOU BRAKE LINES.
11) Now tighten everything up, the connection to the chassis line and the bolt on the caliper (don’t forget the brass washers on the caliper end)
12) Loosen the bleed screw on the caliper and connect a transparent drain line to the bleed screw.
13) Ask a friend to start pumping the brakes from inside the cabin.
14) Look for clear flow of brake fluid in the drain line, when you see that the fluid coming out is free of air bubbles you may stop the bleed process and tighten the bleed screw. You may also refer a online DIY on how to bleed brake system. In a nut shell what your friend is doing is pump, pump, pump and when he feels enough pressure build up then hold and you release the bleed screw. You will see brake fluid squirt out the drain line that you juts connected. It will be filthy and dark in color. Keep repeating the process till you see nice clear clean fluid squirt out without any trapped air bubbles. (THIS PROCESS IS VERY IMPORTANT AND YOU NEED THE HELP OF A FRIEND TO MAKE SURE THAT YOU PRESSURIZE THE BRAKE SYSTEM PROPERLY……IT IS AN EASY PROCESS BUT YOU STILL NEED SOME COMMON SENSE…..YOU NEED TO FEEL THAT PRESSUER BUILD UP IN THE SYSTEM AS YOU PUMP)
15) Once you are satisfied that the system is clean and pressurized properly you may tighten the bleed screw and clean up all the brake fluid.
16) Finish the other side in the same manner.
17) TEST DRIVE: Now don’t be a smart ass and load up your family and show off you upgrade. Make sure that you are alone in the van and have a properly functioning e-brake. Drive off real slow and test the e-brake a couple of times and start testing/pumping your newly installed brake system. You will feel some free push in’s but once the system is pressurized properly it will hold and will work beautifully.
I HAVE BEEN ROCKING THIS UPGRADE FOR THE LAST 5000MILES AND AM GLAD TO TELL YOU THAT ALL WORKS WELL AND THIS 3 TON MONSTER STOPS ON A DIME, YOU WILL DEFINITELY AND POSITIVELY FEEL THE BRAKING DIFFERENCE AND REDUCED STOPPING DISTANCE.
DISCLAMER: AGAIN CANNOT EMPHASIZE THIS ENOUGH…………PLEASE DO THIS AT YOUR OWN RISK AND I AM NOT LIABLE FOR ANY MISTAKE THAT YOU MIGHT COMMIT OR ANY ACCIDENTS RELATED TO THIS WIRTEUP. PLEASE DO THIS AT YOUR OWN RISK.
DETAILED PICTURES ATTACHED: YOUR FEEDBACK/APPRECIATION IS WELCOME……CHEERS!!!!!!!


TOTAL COST OF THIS MOD: CALIPERS $80 + ROTORS $120 = TOTAL of $200............
")


