

Today my wife let me know that a brake light was out on our 2007 Sienna. I looked online to see if there was a write up and I didn't see much so I figured I would put one together.
Tools
10mm socket and ratchet
Steps
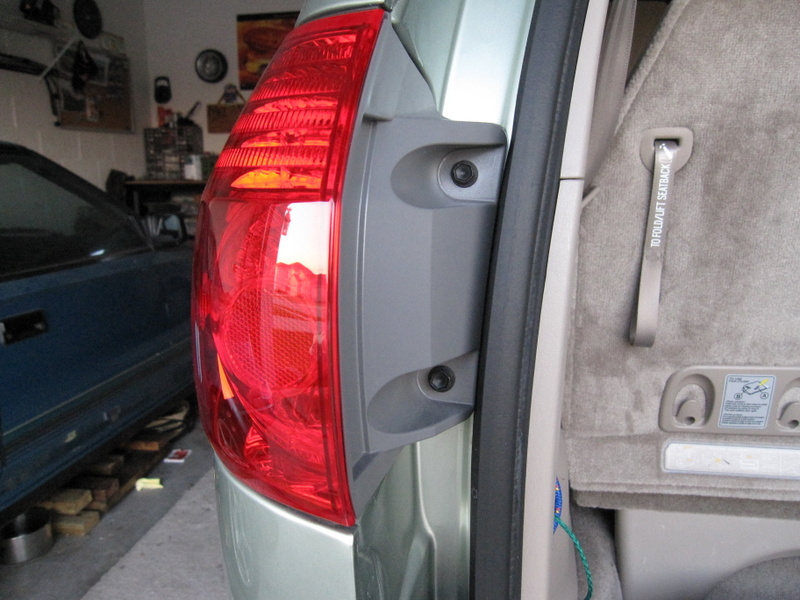
1. Locate the two 10mm bolts holding the tail light in.
![Image]()
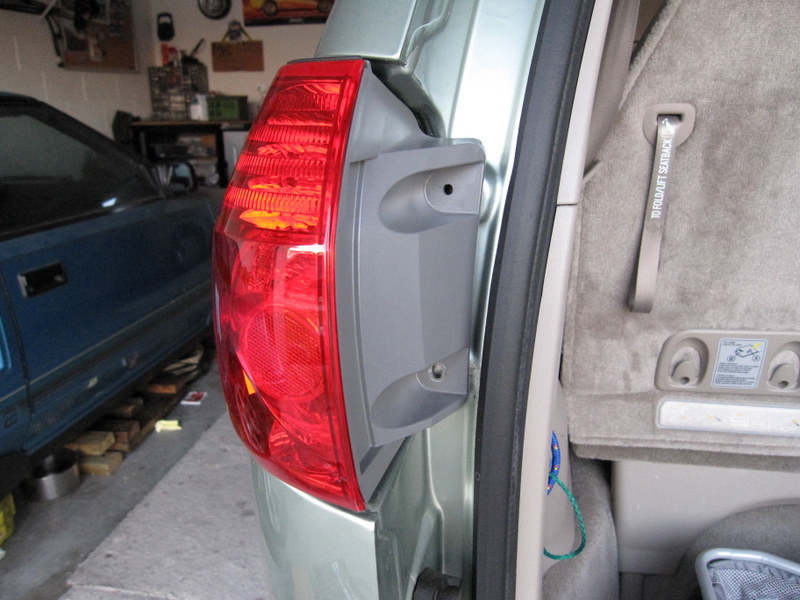
2. Remove the two 10mm bolts using the ratchet.
![Image]()
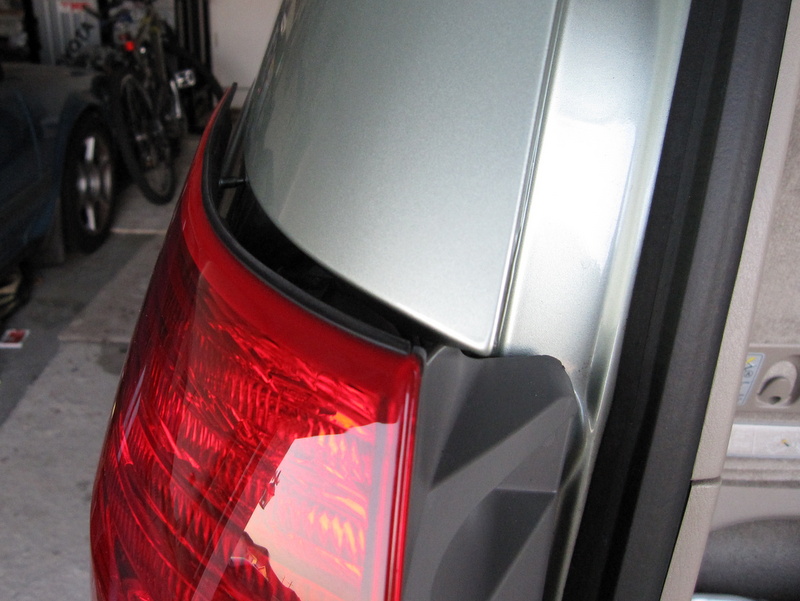
3. Gently rock and pull the tail light away from the side of the van.
![Image]()
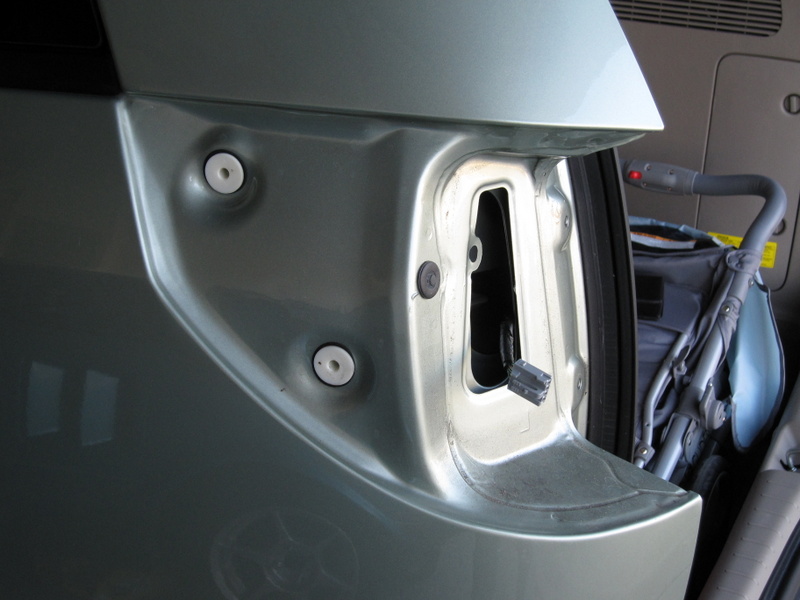
4. You will hear two pops as the two posts on the tail light come loose. Unplug the harness connected to the tail light.
![Image]()
5. A 1/8th turn of the bulb will allow it to be removed from the tail light
![Image]()
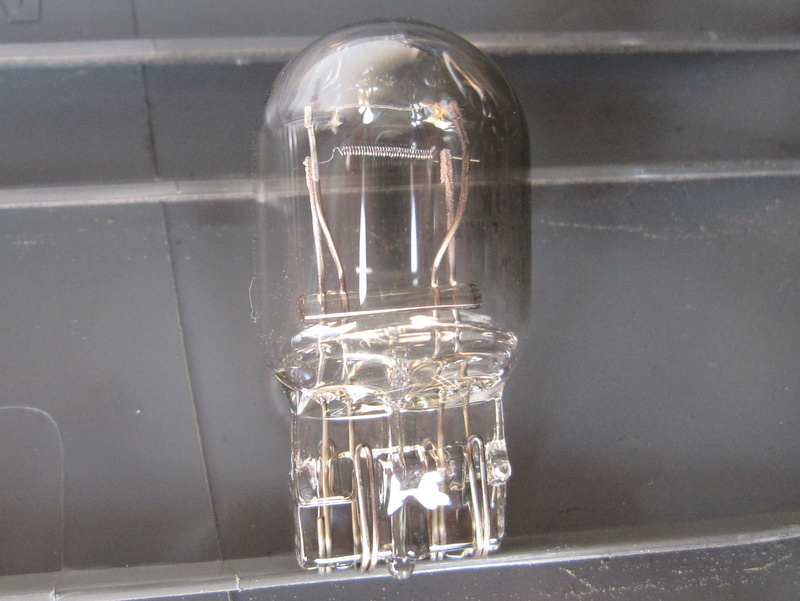
6. Pull/Wiggle the light blub from it's base.
![Image]()
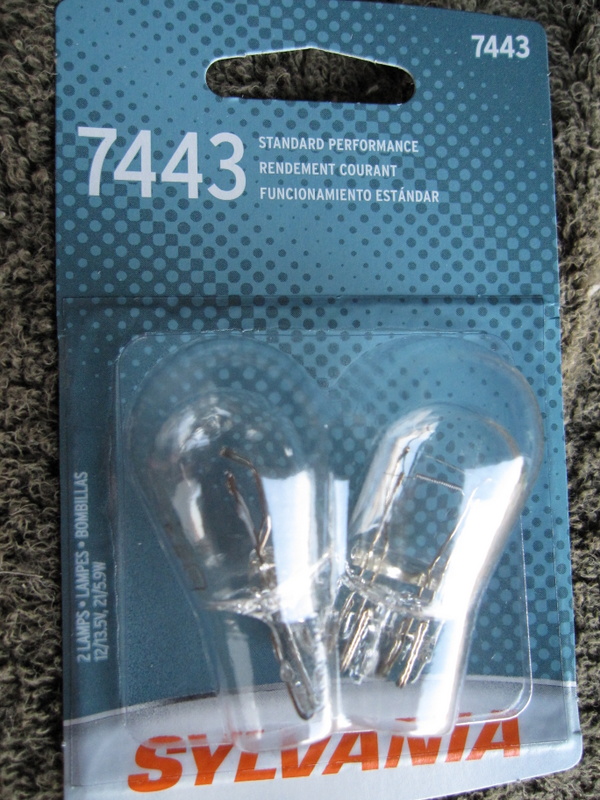
7. Find a replacement at your local auto store (7443) and install.
![Image]()
8. Reinsert bulb/base into the tail light and secure with 1/8th turn.
9. Reconnect the tail light to the harness on the van. Now would be a good time to check the operation of the new bulb.
10. Gently press the tail light back into place on the van. There should be two pops as the posts secure.
11. Reinstall and tighten the two 10mm bolts and your repair complete!
Tools
10mm socket and ratchet
Steps
1. Locate the two 10mm bolts holding the tail light in.
2. Remove the two 10mm bolts using the ratchet.
3. Gently rock and pull the tail light away from the side of the van.
4. You will hear two pops as the two posts on the tail light come loose. Unplug the harness connected to the tail light.
5. A 1/8th turn of the bulb will allow it to be removed from the tail light

6. Pull/Wiggle the light blub from it's base.
7. Find a replacement at your local auto store (7443) and install.
8. Reinsert bulb/base into the tail light and secure with 1/8th turn.
9. Reconnect the tail light to the harness on the van. Now would be a good time to check the operation of the new bulb.
10. Gently press the tail light back into place on the van. There should be two pops as the posts secure.
11. Reinstall and tighten the two 10mm bolts and your repair complete!


