EDIT: This is PART 1 / FRONT brakes.
Part 2 / Rear Brakes is located here: http://siennachat.com/forum/index.php/topic,1221.0.html
I split this into 2 separate topics to make it a bit easier to read/follow [Javvy]'s thorough pic narrative. And also because I was having trouble loading/viewing all of the pics combined.
BY: topspy / Mod-Squad
===== ===== ===== ===== =====
DISCLAMER: Please!!!!! If you do not know how to safely jack up the van and remove the wheels, DO NOT ATTEMPT THIS DIY. I am not responsible for any injuries resulting from your stupidity. Please be at least 8/10 on your technical skill level in order to attempt this.
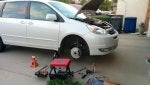
DIY performed on a 2005 XLE LTD
Tools required:
17mm (socket & Spanner), 14mm (socket & Spanner), Brake caliper piston pushing tool or a C clamp, caliper grease, some WD40, rags & Torque Lever/Bar
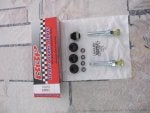
Parts Required:
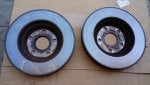
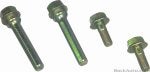
Front and Rear ROTORS set, Front and Rear Brake Pads set, Hardware kit for both front & rear.
[size=10pt]Front Brake Job:[/size]
1. Take a wire hanger and make an S hook as in the pics below you will be using this later on during your installation process.
![Image]()
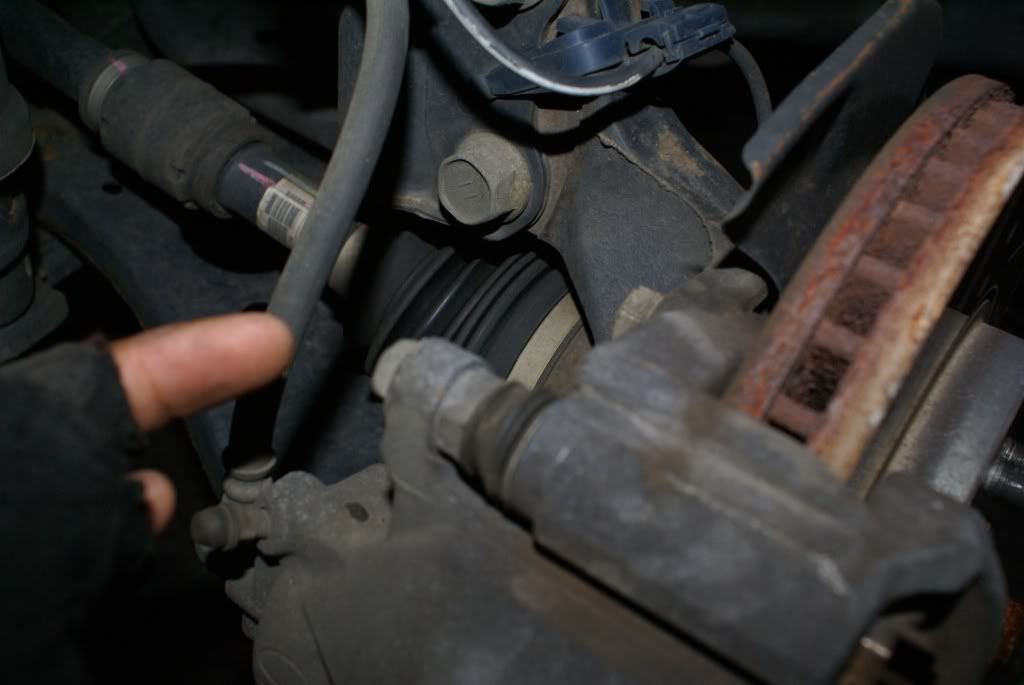
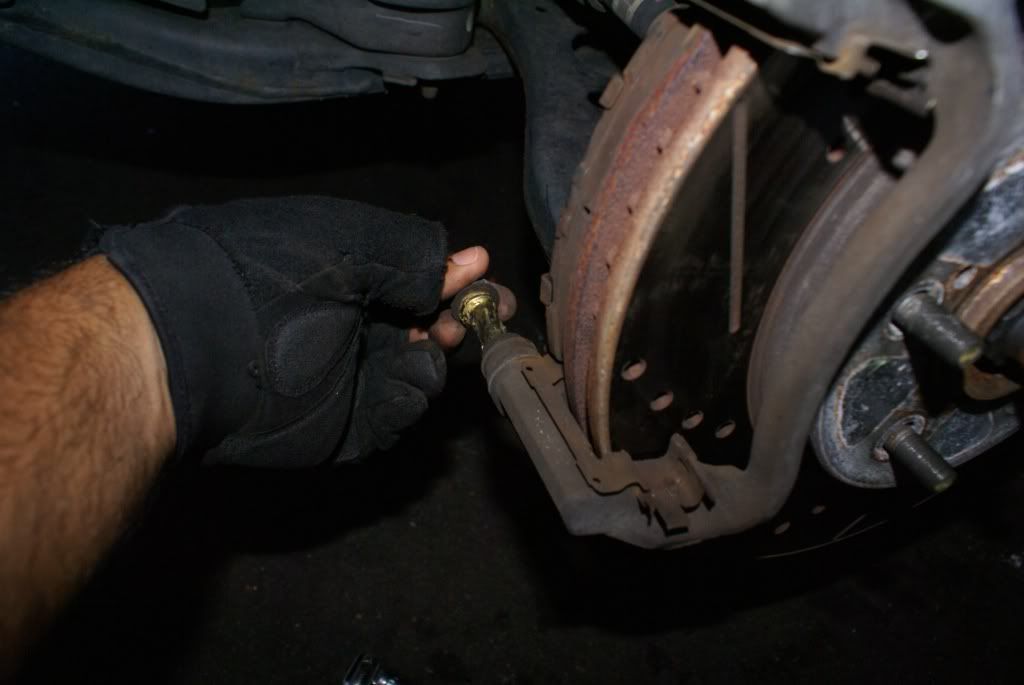
2. Remove the 14mm bolt that attaché the caliper to the bracket, these bolts are mounted on top on the caliper pins, refer to the images below.
![Image]()
![Image]()
![Image]()
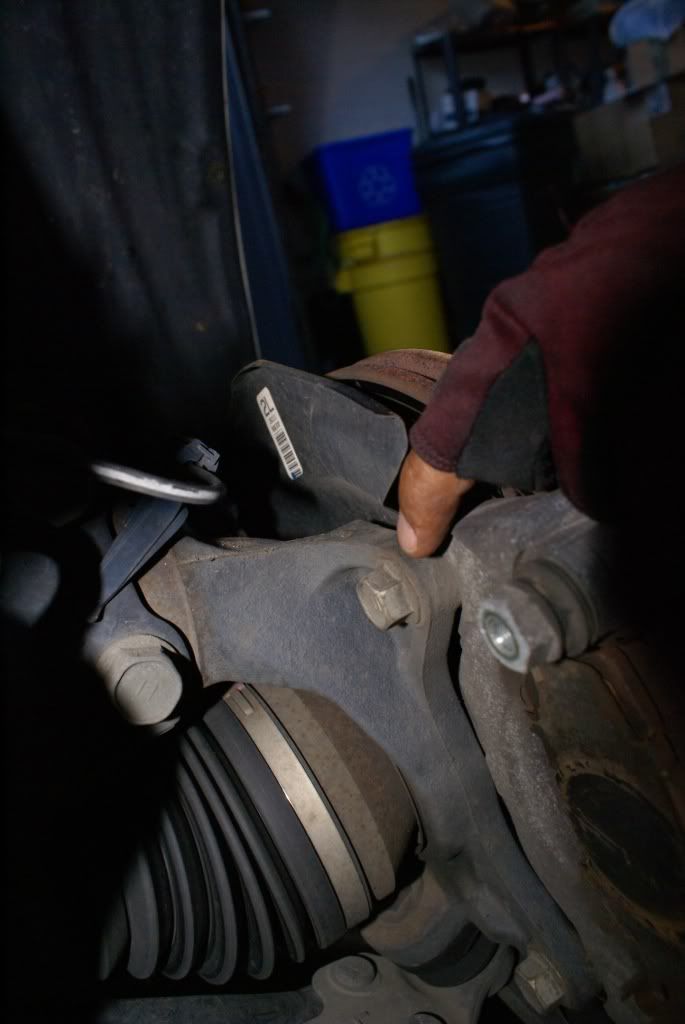
3. Slide the caliper off the bracket and the pads, and hook to the wire S hook that you made and hang it on the spring as shown below, this will prevent any unnecessary stress on the brake lines.
![Image]()
![Image]()
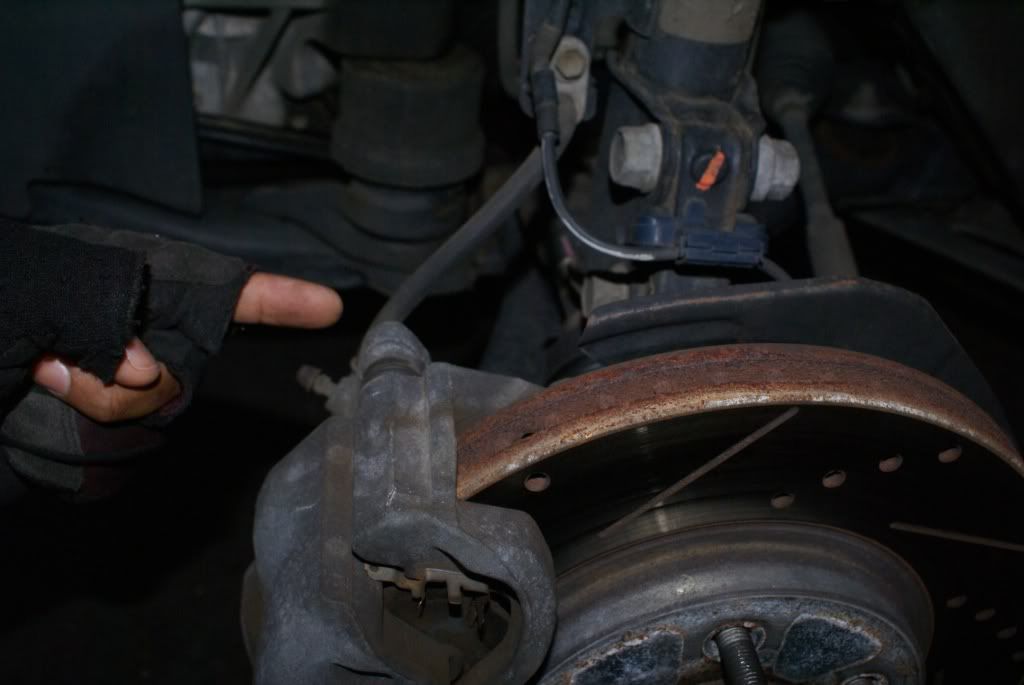
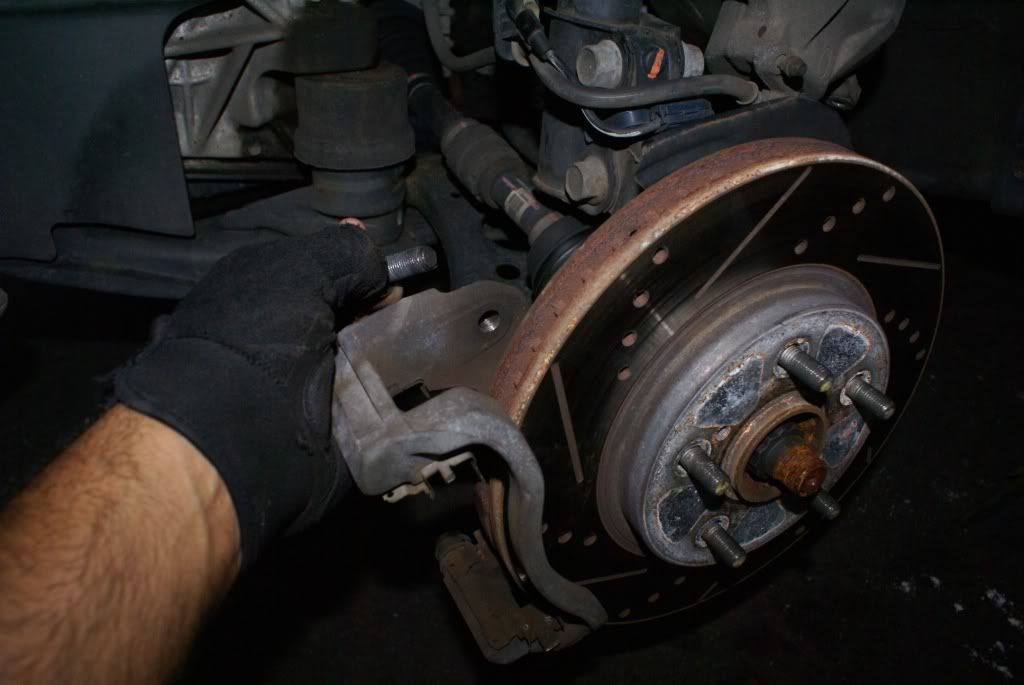
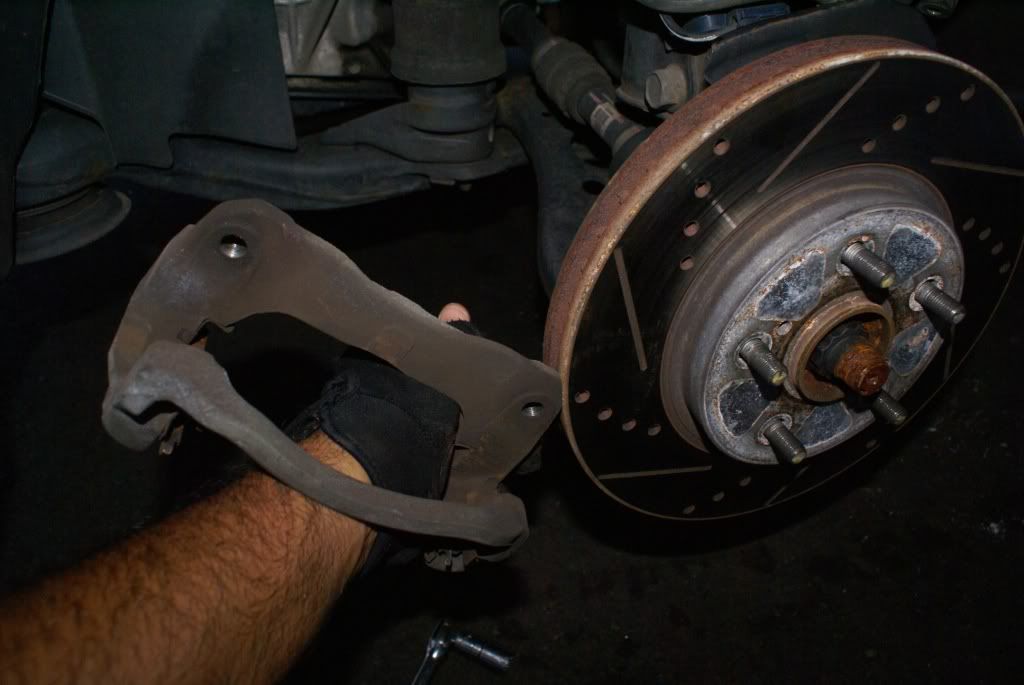
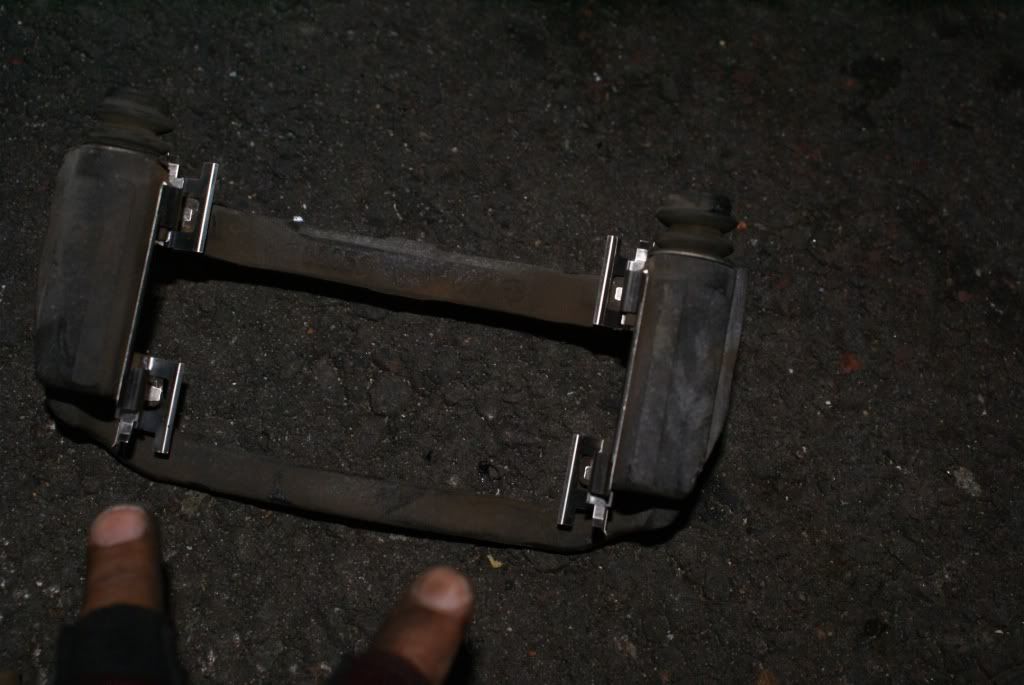
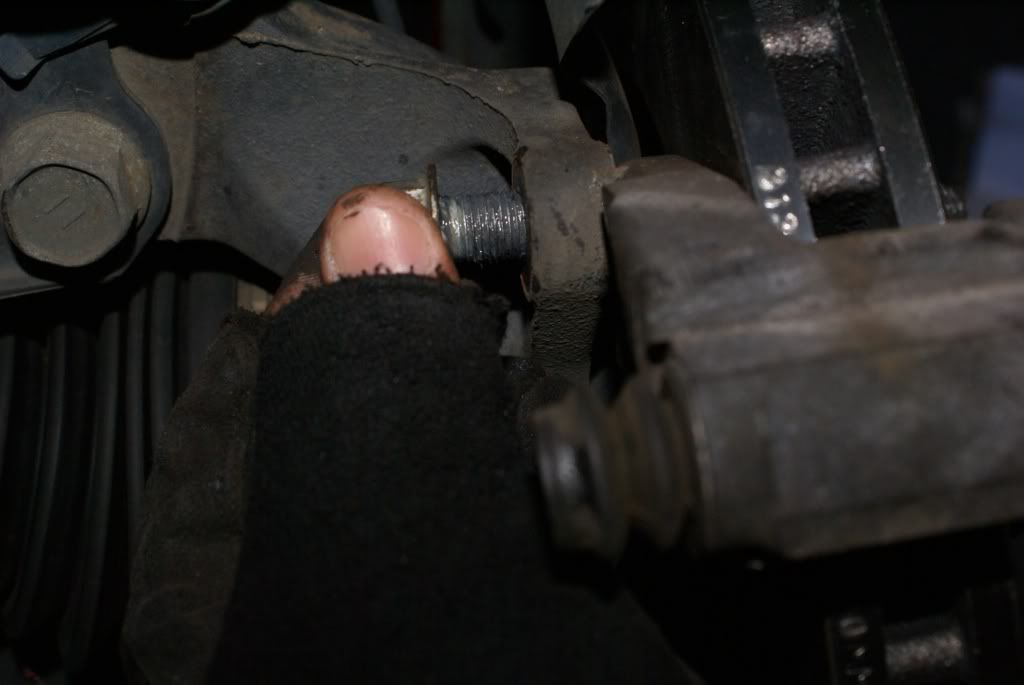
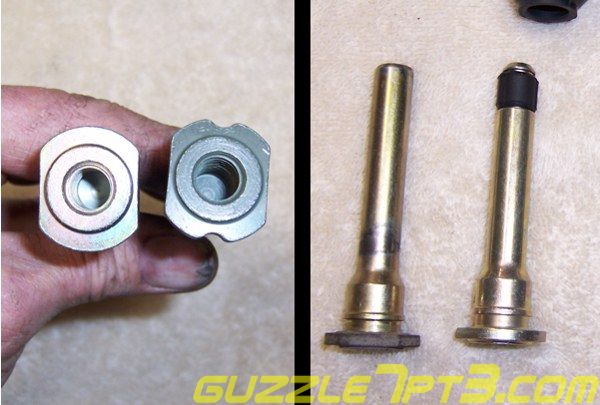
4. Now look at the back and you will see that the bracket is mounted to the knuckle via 2 17mm bolts, spray some WD40 and wait for a couple of seconds. Take these out, use a torque lever/Bar as these might be real tight Refer the pics below. Also remove the caliper slider pins as shown.
![Image]()
![Image]()
![Image]()
![Image]()
![Image]()
![Image]()
![Image]()
5. Now for easy during assembly of the van at the manufacturing plant the rotors are attached to the hub by 2 screws (the holes shown in pics below). You don’t need these screws. Take a drill bit and drill these screw heads out. You can also try the craftsmen’s tool to loosen these screws but why waste time, effort & money on some thing that you will not be using. Juts drill them out and the rotors are free for any future install. Refer the images below. You can also Cut/Buff Or Sand the rest of the screw down so the hub surface is nice and flat.
![Image]()
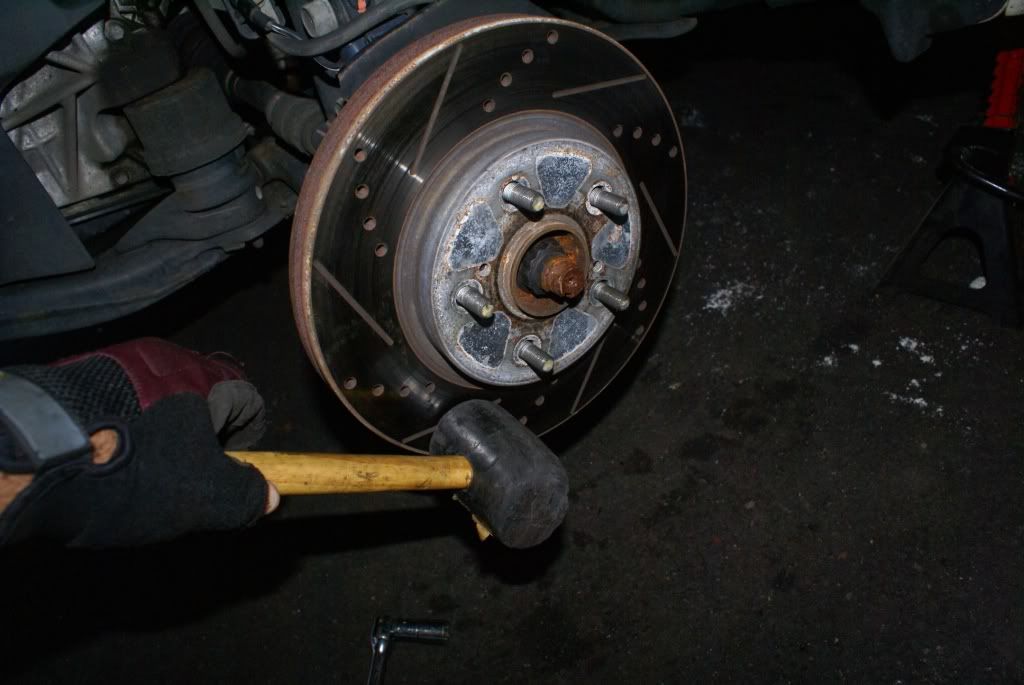
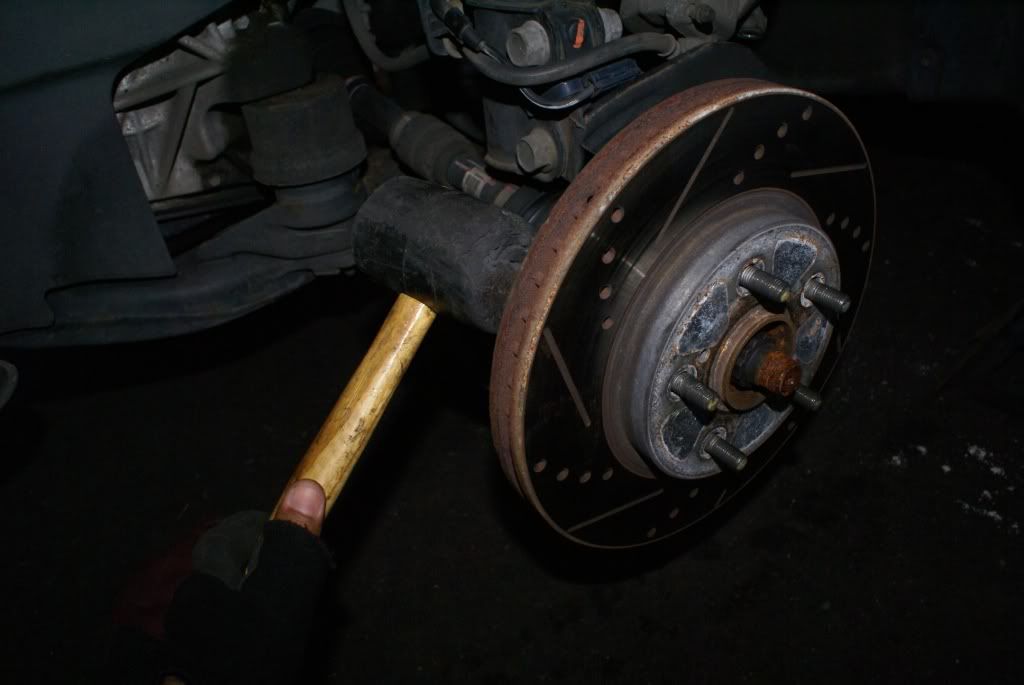
6. Due to heat and rust the rotors are frozen on the hub, take a rubber mallet and start hitting the rotors along the circumference of the rotor, also try tapping/hitting it from inside out. Keep going at it until the rotors are dislodged from the hub.
![Image]()
![Image]()
![Image]()
![Image]()
7. Spray some WD40 and clean up the hub since you are at it.
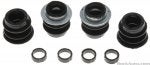
8. Now, get to the bracket and remove the clips (Hardware) that is old and rusted and replace it with the new stuff. REMOVE ONE CLIP AT A TIME AS BOTH THE CLIPS ARE DIFFERENT SO BE CAREFUL TO REPLACE WITH THE SAME KIND OF CLIP
![Image]()
![Image]()
9. Apply some caliper grease to the clip slide points (the surface on which the pads will slide) See pics below.
![Image]()
![Image]()
![Image]()
10. Now you are ready to install the brackets, but before you do that Slide the new Rotor on to the hub and then mount the bracket via the 17mm bolts use the torque bar to get it on real tight. I generally go by the feel using the same feel as when I was loosening the bolts (I know this sounds like old school but it has worked for me….if you want the exact tightening torque then go ahead and knock yourself over researching it and using it)
![Image]()
![Image]()
11. Clean the caliper slider pins with some WD40 and apply caliper grease and slide them back into the bracket make sure that there is enough of the grease. After sliding them in make sure that the rubber boot sits properly in the groove of the slider pin (you can also get new rubber boots if you want as these prevent the brake dust from contaminating the slider pin grease).
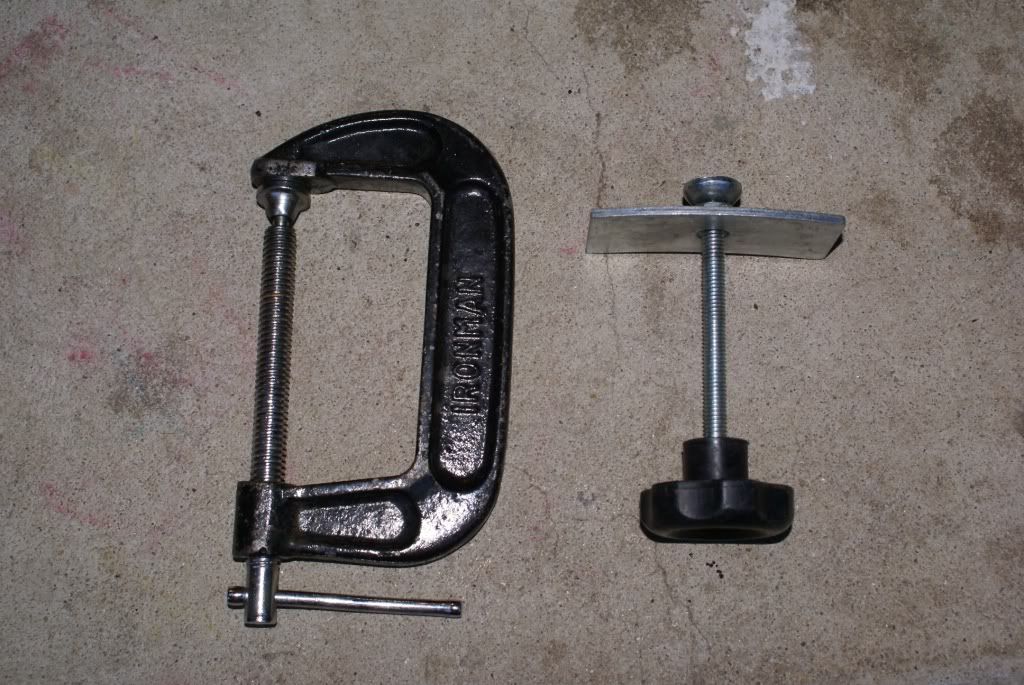
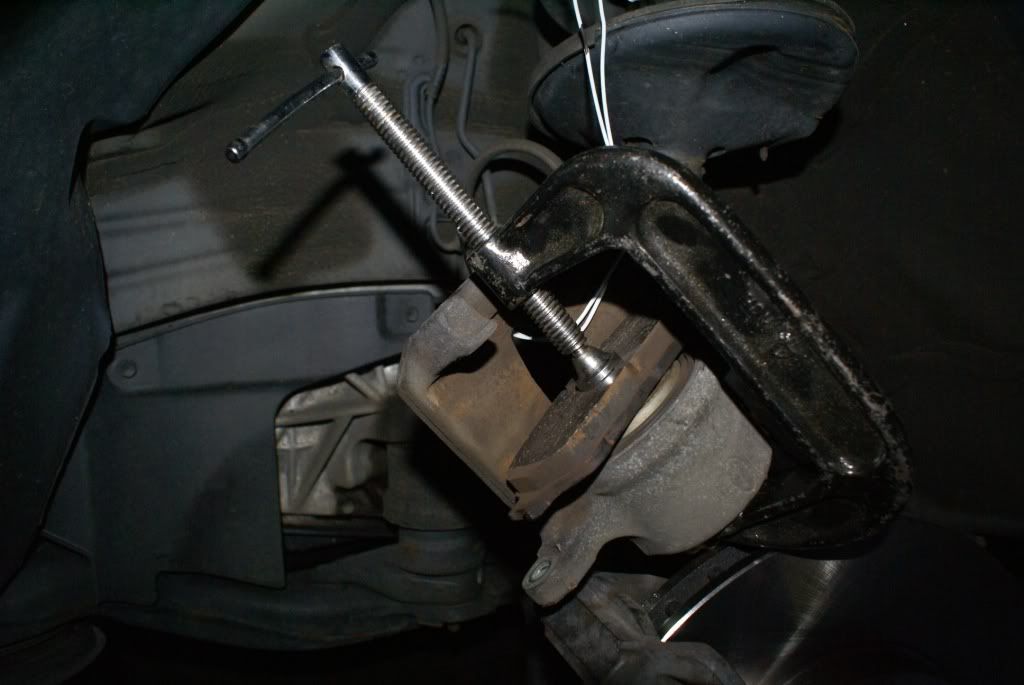
12. Take the caliper push tool or the C clamp and one of the old pads and sandwich it as shown in the pic below. I have one pic for each type of push tool. Hook up the push tool. Open the hood and open the brake fluid reservoir cap (because as you will push the caliper piston and if your reservoir is over filled there will be some fluid that will overflow from the reservoir). Start pushing the caliper piston till it is pushed all the way.
![Image]()
![Image]()
![Image]()
13. Insert the pads in to the bracket on the slider surface of the clips that you greased above.
14. Slide the caliper on to the pads and tighten the 14mm bolts attaching the caliper to the bracket. You will need to hold the slider pin with a 14mm spanner in order for you to get a proper fit of the 14mm bolts.
VIOLLAHA you front brake job is DONE………..NOW REPEATE THE SAME FOR THE OTHER SIDE…….remember the sequence…. new rotors goes in first, then the bracket, then the pads & then the caliper.
Part 2 / Rear Brakes is located here: http://siennachat.com/forum/index.php/topic,1221.0.html
I split this into 2 separate topics to make it a bit easier to read/follow [Javvy]'s thorough pic narrative. And also because I was having trouble loading/viewing all of the pics combined.
BY: topspy / Mod-Squad
===== ===== ===== ===== =====
DISCLAMER: Please!!!!! If you do not know how to safely jack up the van and remove the wheels, DO NOT ATTEMPT THIS DIY. I am not responsible for any injuries resulting from your stupidity. Please be at least 8/10 on your technical skill level in order to attempt this.
DIY performed on a 2005 XLE LTD
Tools required:
17mm (socket & Spanner), 14mm (socket & Spanner), Brake caliper piston pushing tool or a C clamp, caliper grease, some WD40, rags & Torque Lever/Bar
Parts Required:
Front and Rear ROTORS set, Front and Rear Brake Pads set, Hardware kit for both front & rear.
[size=10pt]Front Brake Job:[/size]
1. Take a wire hanger and make an S hook as in the pics below you will be using this later on during your installation process.

2. Remove the 14mm bolt that attaché the caliper to the bracket, these bolts are mounted on top on the caliper pins, refer to the images below.

3. Slide the caliper off the bracket and the pads, and hook to the wire S hook that you made and hang it on the spring as shown below, this will prevent any unnecessary stress on the brake lines.


4. Now look at the back and you will see that the bracket is mounted to the knuckle via 2 17mm bolts, spray some WD40 and wait for a couple of seconds. Take these out, use a torque lever/Bar as these might be real tight Refer the pics below. Also remove the caliper slider pins as shown.


5. Now for easy during assembly of the van at the manufacturing plant the rotors are attached to the hub by 2 screws (the holes shown in pics below). You don’t need these screws. Take a drill bit and drill these screw heads out. You can also try the craftsmen’s tool to loosen these screws but why waste time, effort & money on some thing that you will not be using. Juts drill them out and the rotors are free for any future install. Refer the images below. You can also Cut/Buff Or Sand the rest of the screw down so the hub surface is nice and flat.

6. Due to heat and rust the rotors are frozen on the hub, take a rubber mallet and start hitting the rotors along the circumference of the rotor, also try tapping/hitting it from inside out. Keep going at it until the rotors are dislodged from the hub.


7. Spray some WD40 and clean up the hub since you are at it.
8. Now, get to the bracket and remove the clips (Hardware) that is old and rusted and replace it with the new stuff. REMOVE ONE CLIP AT A TIME AS BOTH THE CLIPS ARE DIFFERENT SO BE CAREFUL TO REPLACE WITH THE SAME KIND OF CLIP

9. Apply some caliper grease to the clip slide points (the surface on which the pads will slide) See pics below.


10. Now you are ready to install the brackets, but before you do that Slide the new Rotor on to the hub and then mount the bracket via the 17mm bolts use the torque bar to get it on real tight. I generally go by the feel using the same feel as when I was loosening the bolts (I know this sounds like old school but it has worked for me….if you want the exact tightening torque then go ahead and knock yourself over researching it and using it)

11. Clean the caliper slider pins with some WD40 and apply caliper grease and slide them back into the bracket make sure that there is enough of the grease. After sliding them in make sure that the rubber boot sits properly in the groove of the slider pin (you can also get new rubber boots if you want as these prevent the brake dust from contaminating the slider pin grease).
12. Take the caliper push tool or the C clamp and one of the old pads and sandwich it as shown in the pic below. I have one pic for each type of push tool. Hook up the push tool. Open the hood and open the brake fluid reservoir cap (because as you will push the caliper piston and if your reservoir is over filled there will be some fluid that will overflow from the reservoir). Start pushing the caliper piston till it is pushed all the way.

13. Insert the pads in to the bracket on the slider surface of the clips that you greased above.
14. Slide the caliper on to the pads and tighten the 14mm bolts attaching the caliper to the bracket. You will need to hold the slider pin with a 14mm spanner in order for you to get a proper fit of the 14mm bolts.
VIOLLAHA you front brake job is DONE………..NOW REPEATE THE SAME FOR THE OTHER SIDE…….remember the sequence…. new rotors goes in first, then the bracket, then the pads & then the caliper.


")